Method
Mix and knead the dough
Pour 160 ml of warm water into a large mixing bowl. Whisk in 30 g of granulated sugar and 5 g of instant yeast until evenly dispersed. Add 270 g of all-purpose flour, 30 g of cornstarch for dough, 6 g of baking powder, 2 g of fine salt, and 15 ml of neutral oil. Stir until no dry flour remains, then knead on a clean surface for 8 to 10 minutes, until the dough is smooth, supple, and only faintly tacky. If it sticks heavily, dust the surface sparingly with all-purpose flour (optional, for dusting) rather than working in a large extra amount.
08:00Let the dough rise
Shape the dough into a ball and place it in a clean bowl. Cover and leave it in a warm, draft-free spot for 60 to 75 minutes. Begin checking at 60 minutes; it is ready when it is about doubled in volume and a fingertip indentation springs back slowly instead of closing at once.
60:00Season the pork
While the dough rises, cut 300 g of boneless pork shoulder into strips about 2 cm (3/4 in) thick. Mince 2 garlic cloves and grate 5 g of fresh ginger into a nonreactive bowl, then stir in 30 g of hoisin sauce for pork, 21 g of honey, 15 ml of light soy sauce for pork, 15 g of oyster sauce for pork, 10 ml of unseasoned rice vinegar, 5 ml of toasted sesame oil, and 1 g of Chinese five-spice powder. Add the pork and turn until every surface is coated. Leave it for 30 minutes. Keep the raw pork, bowl, and utensils away from the dough and ready-to-eat ingredients, then wash hands and work surfaces thoroughly.
30:00Roast the char siu
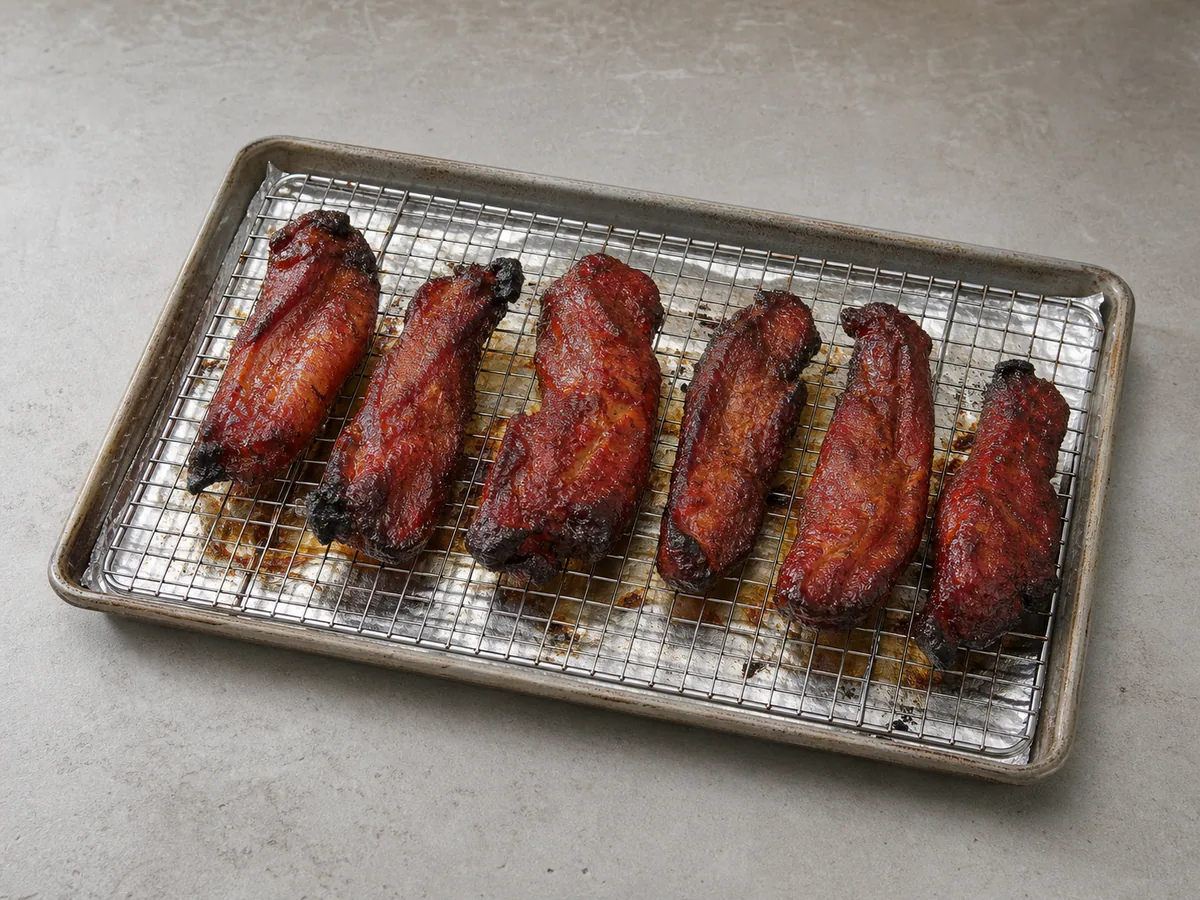
Heat the oven to 220°C (425°F). Line a rimmed baking sheet with foil and set a wire rack on top. Lift the pork strips from the marinade, let excess drip away, and discard the marinade. Arrange the pork in one layer. Roast for 18 to 24 minutes, turning when the underside begins to caramelize, until the edges are dark and glossy. Begin checking at 18 minutes and use a clean food thermometer in the thickest strip; the pork must reach at least 63°C/145°F.
18:00Rest and chop the pork
Transfer the cooked pork to a clean board and let it rest for 3 minutes. Cut it across the grain into small dice, about 5 mm (1/4 in), so the filling packs neatly without tearing the wrappers.
03:00Cook the filling sauce
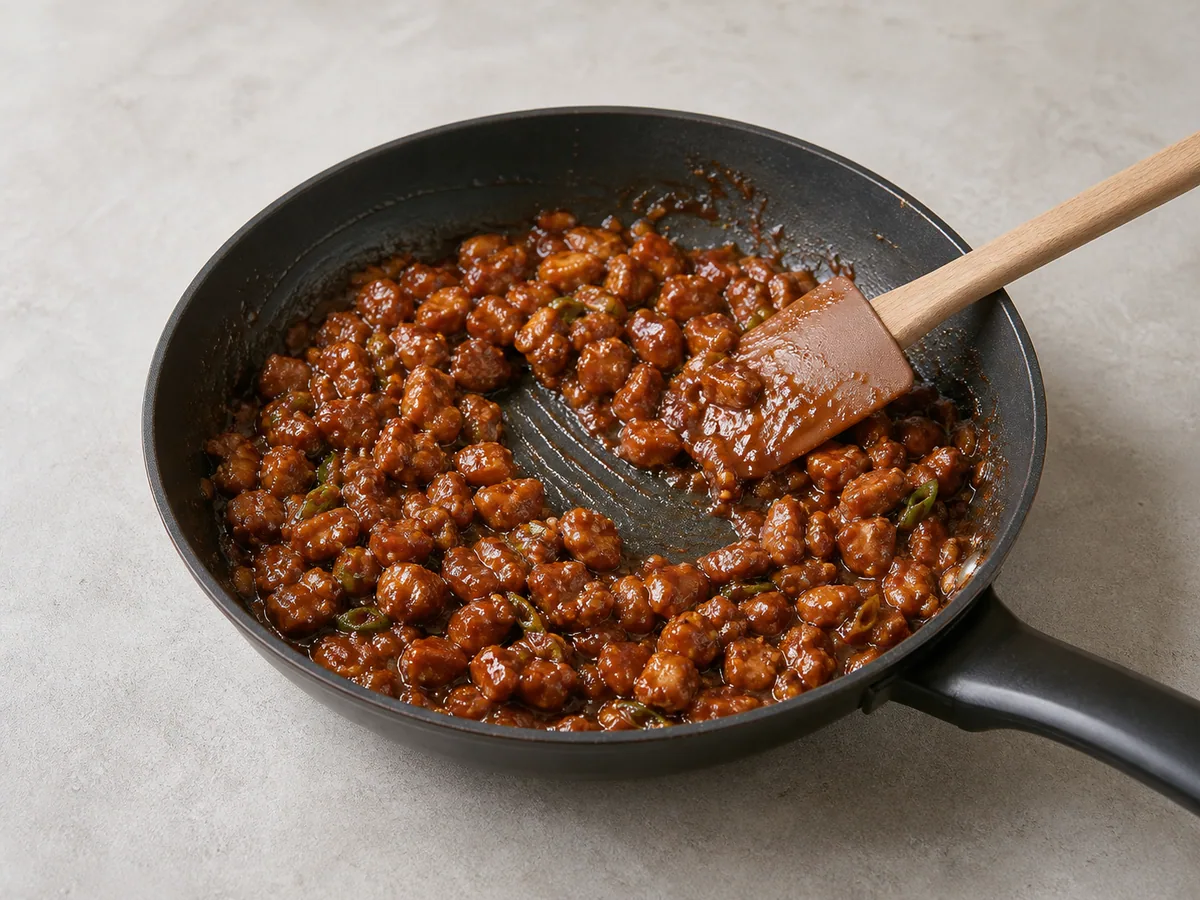
Whisk 80 ml of water for filling, 30 g of hoisin sauce for filling, 15 ml of light soy sauce for filling, 10 g of light brown sugar for filling, and 10 g of cornstarch for filling in a skillet until completely smooth. Set the skillet over medium heat and stir constantly for 3 to 5 minutes. The sauce is ready when it turns glossy, thickens to a loose paste, and a spatula drawn through it leaves a clear track for a second. Fold in the diced cooked pork. Slice 2 scallions thinly and stir them through just until evenly distributed.
03:00Cool the filling
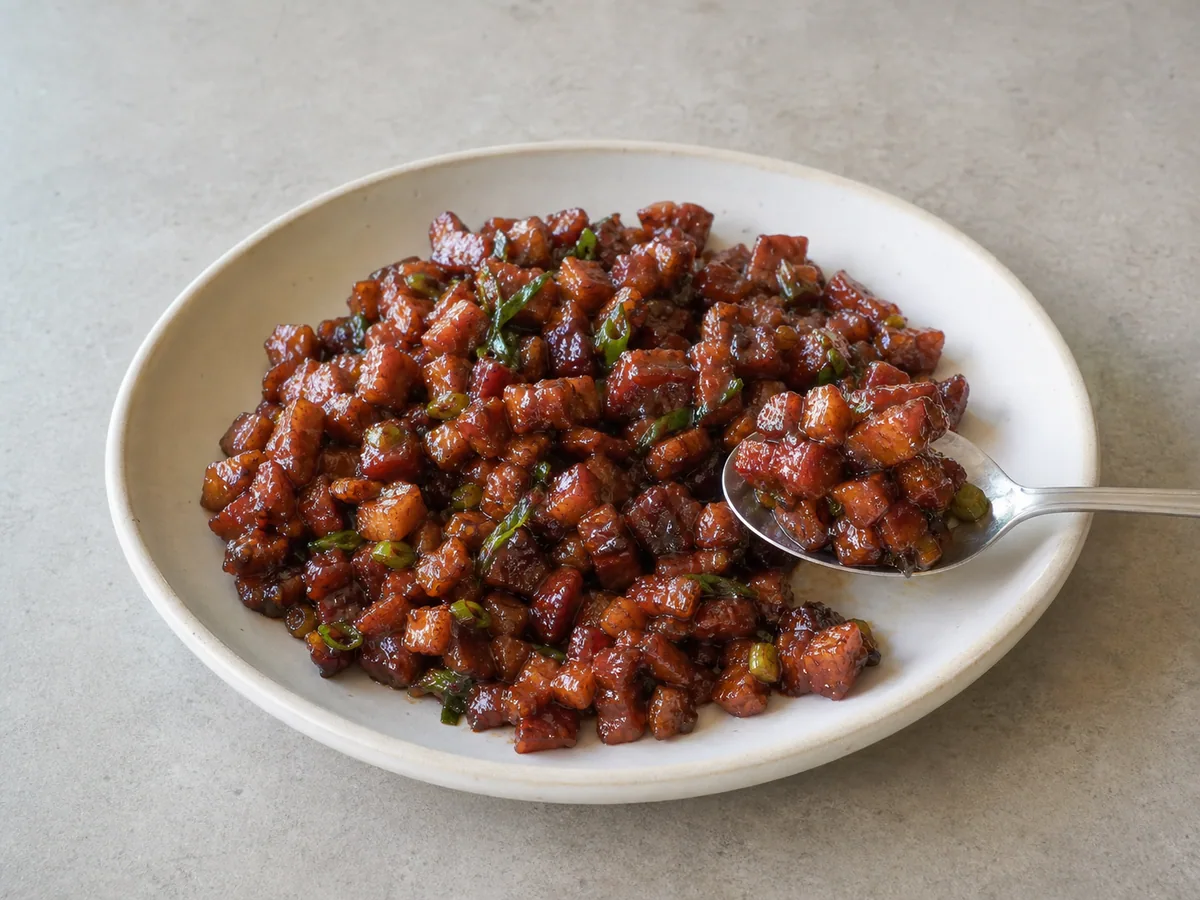
Spread the filling in a shallow dish and leave it for about 15 minutes, stirring once or twice to release heat. It should be cool enough to handle and firm enough to sit in a mound on a spoon; warm, loose filling can soften the dough and escape through the seam.
15:00Divide and shape the wrappers
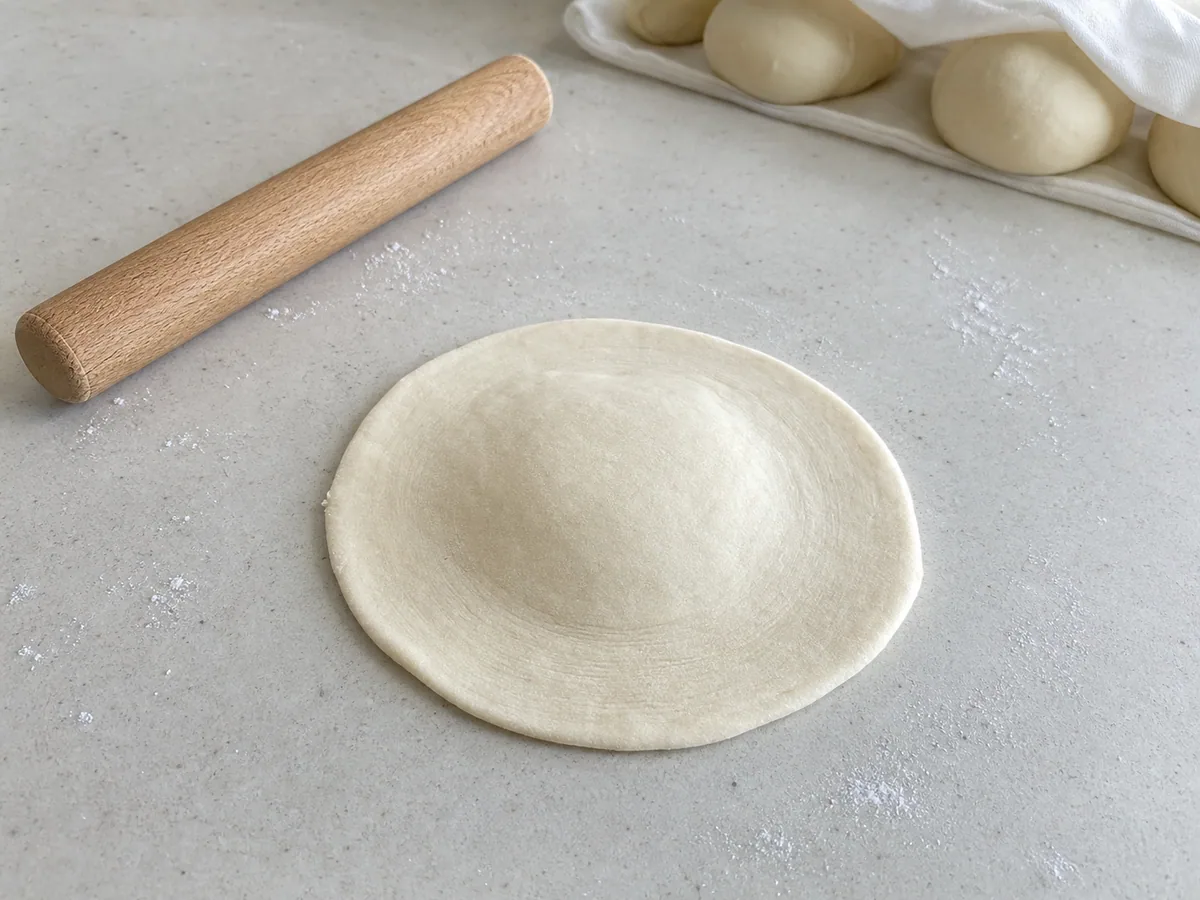
Press the risen dough gently to release large air pockets, then knead for about 1 minute until smooth. Roll it into a thick rope and divide it into 2 equal portions per serving—8 portions for the default 4-serving batch—about 65 g (2 1/4 oz) each. Keep every piece covered while you work. Flatten one portion at a time and roll it into a round about 12 cm (4 3/4 in) wide, leaving the center visibly thicker than the outer 2 cm (3/4 in) edge. Use a trace of all-purpose flour (optional, for dusting) only if the dough sticks.
Fill and seal the bao
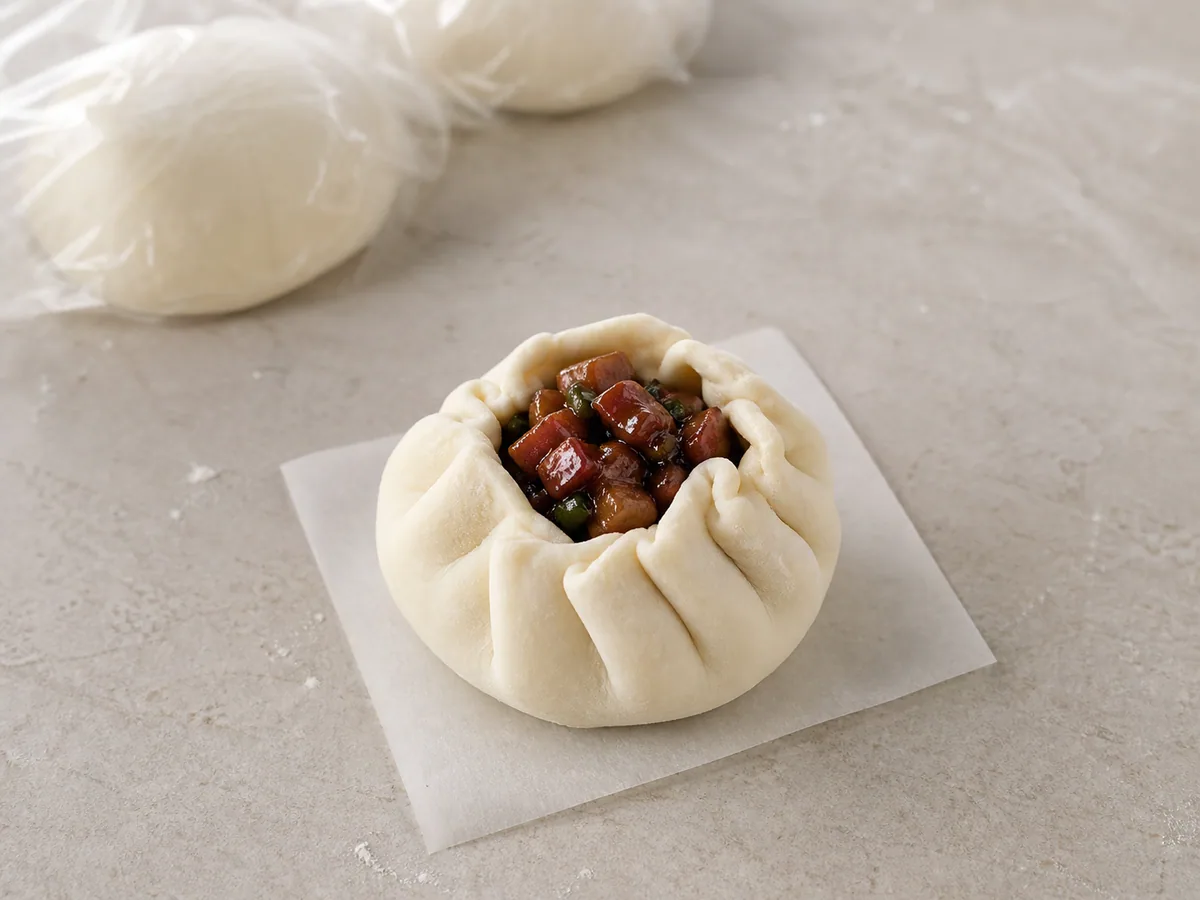
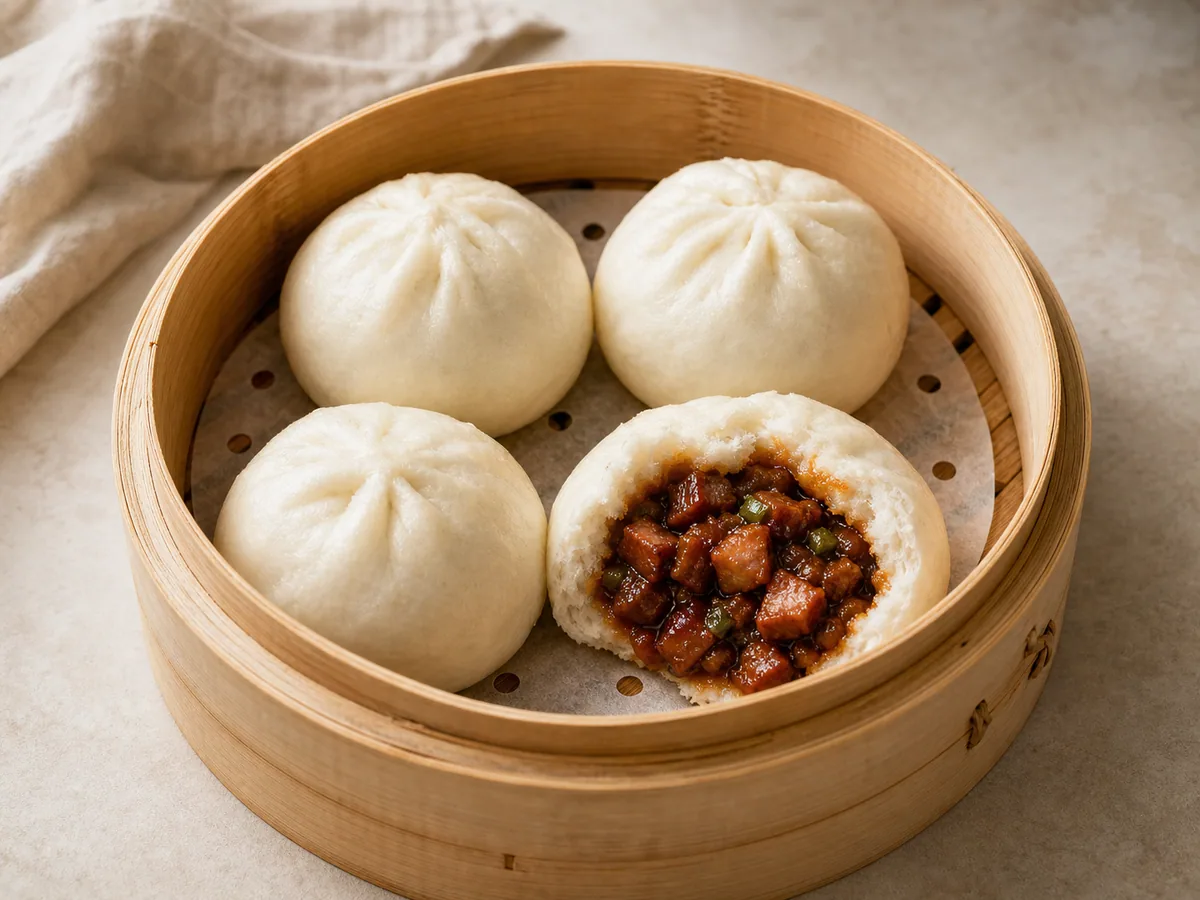
Set a wrapper in your palm and place about 45 g (1 1/2 oz) of filling in the thick center. Lift the edge in small pleats, turning the wrapper as you work, then pinch the gathered top firmly closed. Set the bun seam-side up on a small square of parchment. Keep the shaped buns covered so the surface stays soft.
Proof the shaped bao
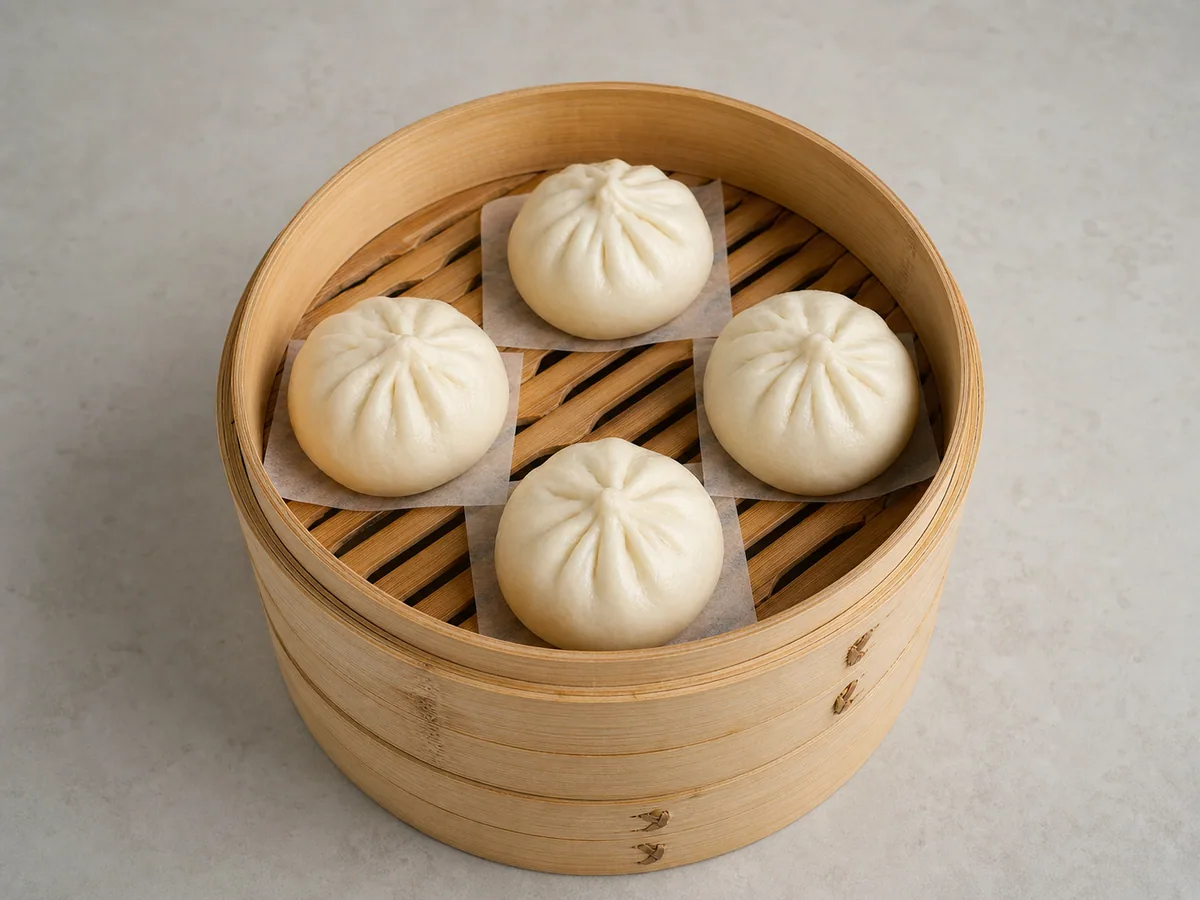
For the default 8-bun batch, use two 25 cm (10 in) steamer tiers and arrange 4 buns in each tier, leaving at least 4 cm (1 1/2 in) between them so they can expand. Cover and leave them for 20 to 25 minutes. Begin checking at 20 minutes; the dough should look slightly puffy and a gentle fingertip press should rebound slowly without leaving a deep dent. For scaled quantities that exceed the steamer capacity, keep the same spacing and proof the additional buns so each batch receives the full proofing interval.
20:00Steam the bao
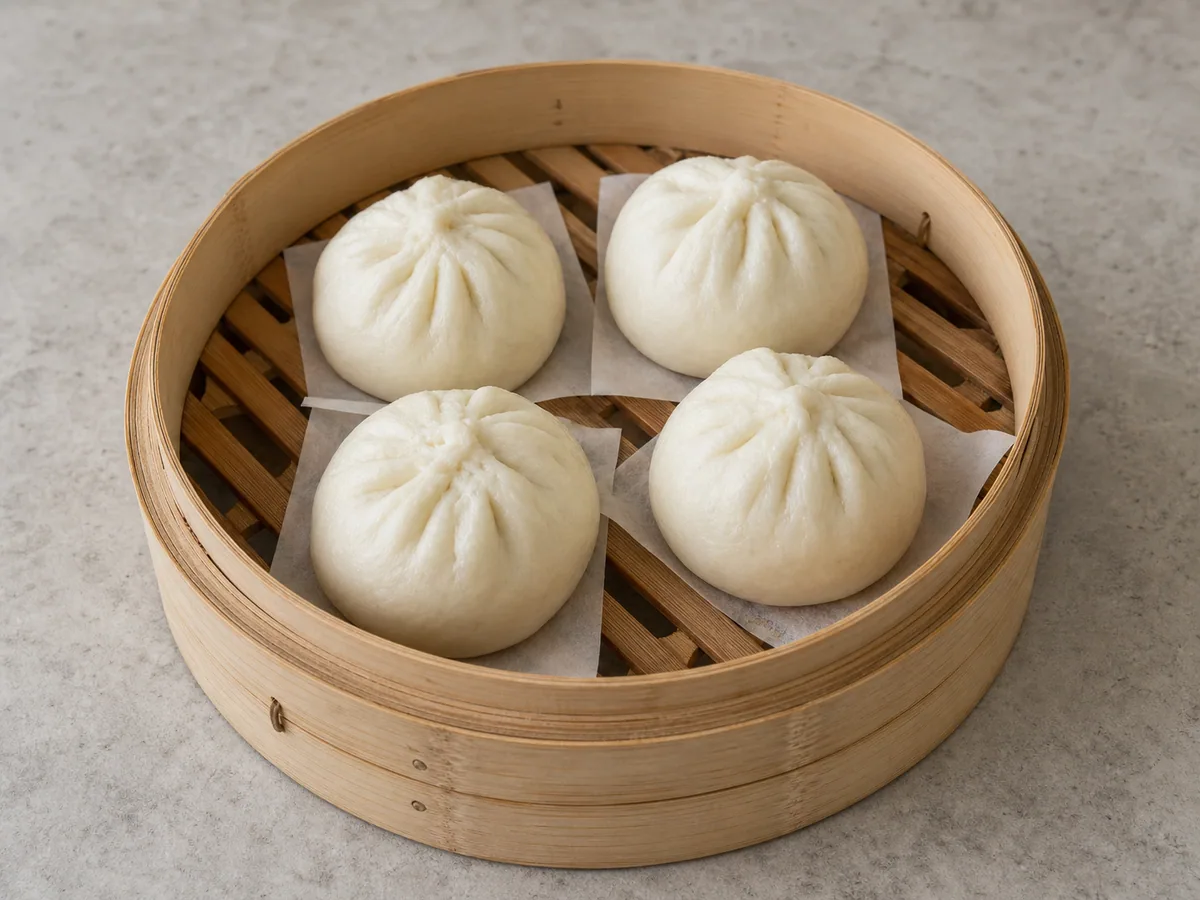
Bring several centimeters of water to a vigorous simmer in a pot or wok, making sure the water does not touch the lower steamer basket. Stack the two covered steamer tiers over the water and steam over medium-high heat for 14 minutes. Turn off the heat before checking. Keeping your face and hands out of the steam plume, lift the lid away from you and use a clean food thermometer through the side of a bun in the upper tier to check the center of the filling. The buns should be fully puffed and matte rather than doughy, and the filling must reach at least 74°C/165°F. If it is cooler, replace the lid immediately, return the water to a vigorous simmer, and steam for 2 minutes more before checking again with the same safe lid-opening technique. For scaled quantities that require additional batches, give every batch the full 14-minute steam and the 5-minute covered settling period in the next step.
14:00Settle the buns and serve
Turn off the heat and leave the steamer covered for 5 minutes so the pressure drops gradually. Crack the lid open away from your face to release the hot steam, then lift it fully. Serve the bao warm while the dough is soft and the filling is glossy.
05:00


Smart Substitutions
- No pork shoulder? Use pork tenderloin for a leaner filling and begin checking it earlier; cook it to at least 63°C/145°F and rest it for 3 minutes before chopping.
- No oyster sauce? Use an equal amount of hoisin sauce plus a small splash of light soy sauce for a similar glossy, savory base.
- No bamboo steamer? Use a metal steamer basket lined with perforated parchment, keeping the buns above the water and leaving room for expansion.
- No cornstarch? Use potato starch in the filling sauce; for the dough, replace it with the same weight of all-purpose flour for a slightly chewier bun.
Tips and Variations
- Weigh the dough portions so the buns steam at the same rate and the filling-to-wrapper ratio stays balanced.
- Keep unused dough covered at every stage; even a thin dry skin makes the pleats resist sealing.
- If condensation gathers under a metal lid, wrap the lid with a clean kitchen towel and secure the loose ends well away from the heat source.
What Went Wrong?
- Buns are dense Give the first rise more time in a warm spot and check that the yeast is fresh; properly risen dough should feel aerated before shaping.
- Filling leaks through the seam Cool the filling until it holds a mound, use slightly less in each wrapper, and pinch the final pleat firmly against the first.
- Bao tops wrinkle Leave the steamer covered off the heat for the full 5 minutes, then open it gradually so the buns do not meet a sudden temperature change.
- Dough remains tacky inside Return the steamer to a vigorous simmer and cook the buns for 2 to 3 minutes more, then confirm the filling center reaches at least 74°C/165°F.
Nutrition Estimate
- Fiber: 3 g per serving
- Sodium: 1190 mg per serving
Nutrition disclaimer:This recipe is provided for general cooking information only. Nutrition values are estimates and may vary by ingredients, brands, preparation methods, and serving sizes. Check ingredient labels and follow appropriate food-safety practices. This content is not medical, dietary, allergy, or professional food-safety advice.
FAQ
Found an error or have a suggestion?
Help us improve this recipe. Send us your feedback and include the recipe name so we can take a look.