Method
Mix and rest the dough
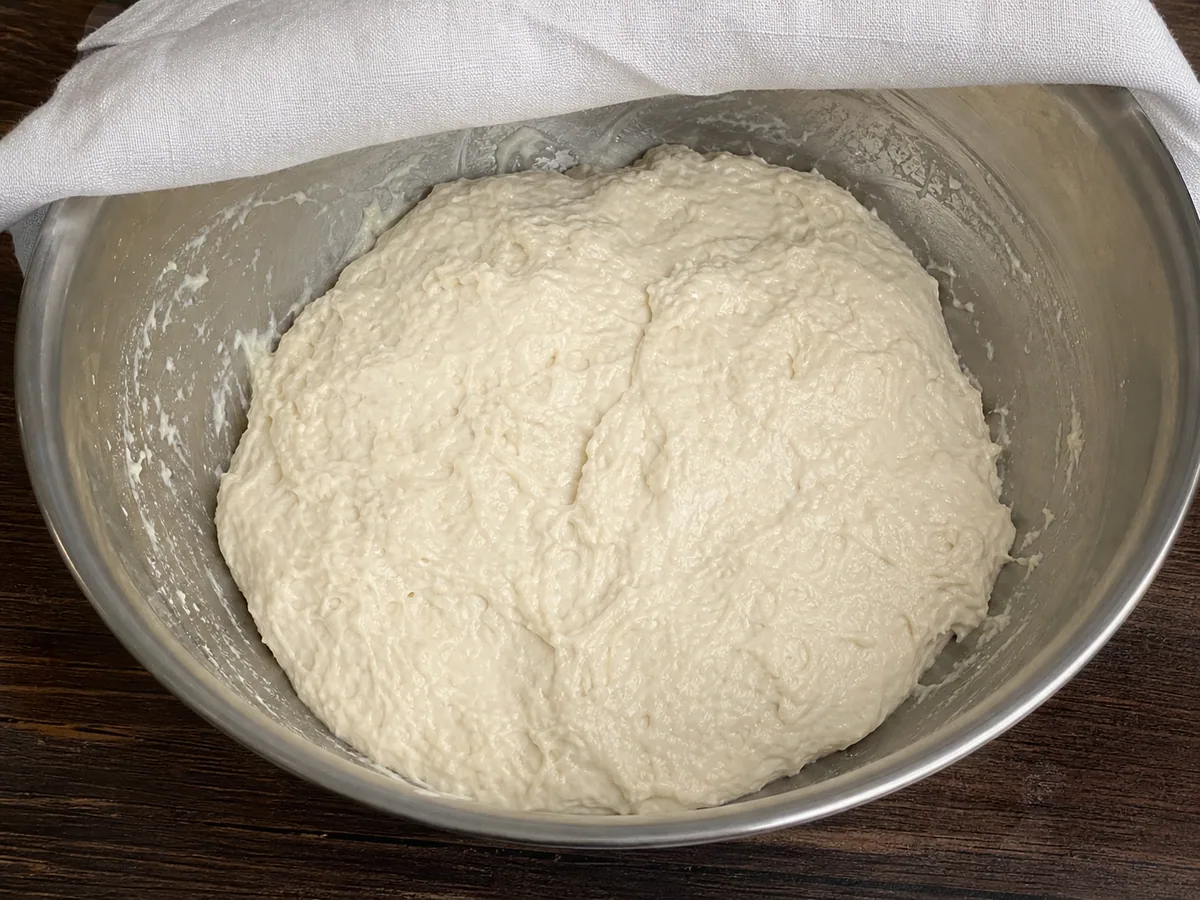
Combine 500 g of bread flour and 7 g of active dry yeast in a large bowl. Add 360 ml of lukewarm water, 38–43°C (100–110°F) and stir firmly until no dry flour remains; the dough should look rough, sticky, and evenly hydrated. Cover the bowl and let the dough rest for 10 minutes so the flour can absorb the water before kneading.
10:00Knead and let the dough rise
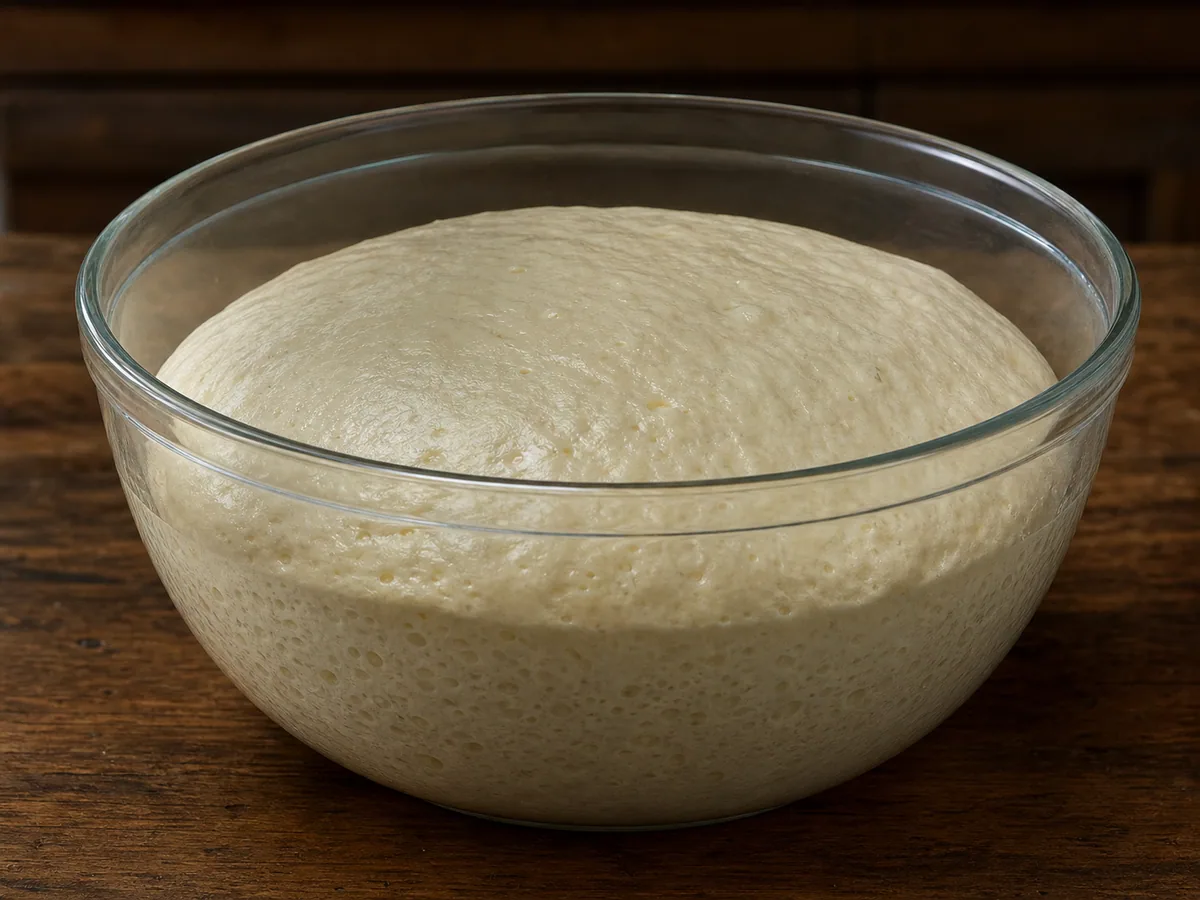
Sprinkle 9 g of fine sea salt across the dough. Knead in the bowl with repeated folds, or on a clean work surface, for 8 to 10 minutes until the dough becomes smooth, elastic, and able to stretch thin without tearing immediately. Return it to the bowl, cover, and leave in a warm place until roughly doubled and visibly aerated, 75 to 90 minutes. Start checking at 75 minutes rather than relying only on the clock.
75:00Heat the oven and divide the dough
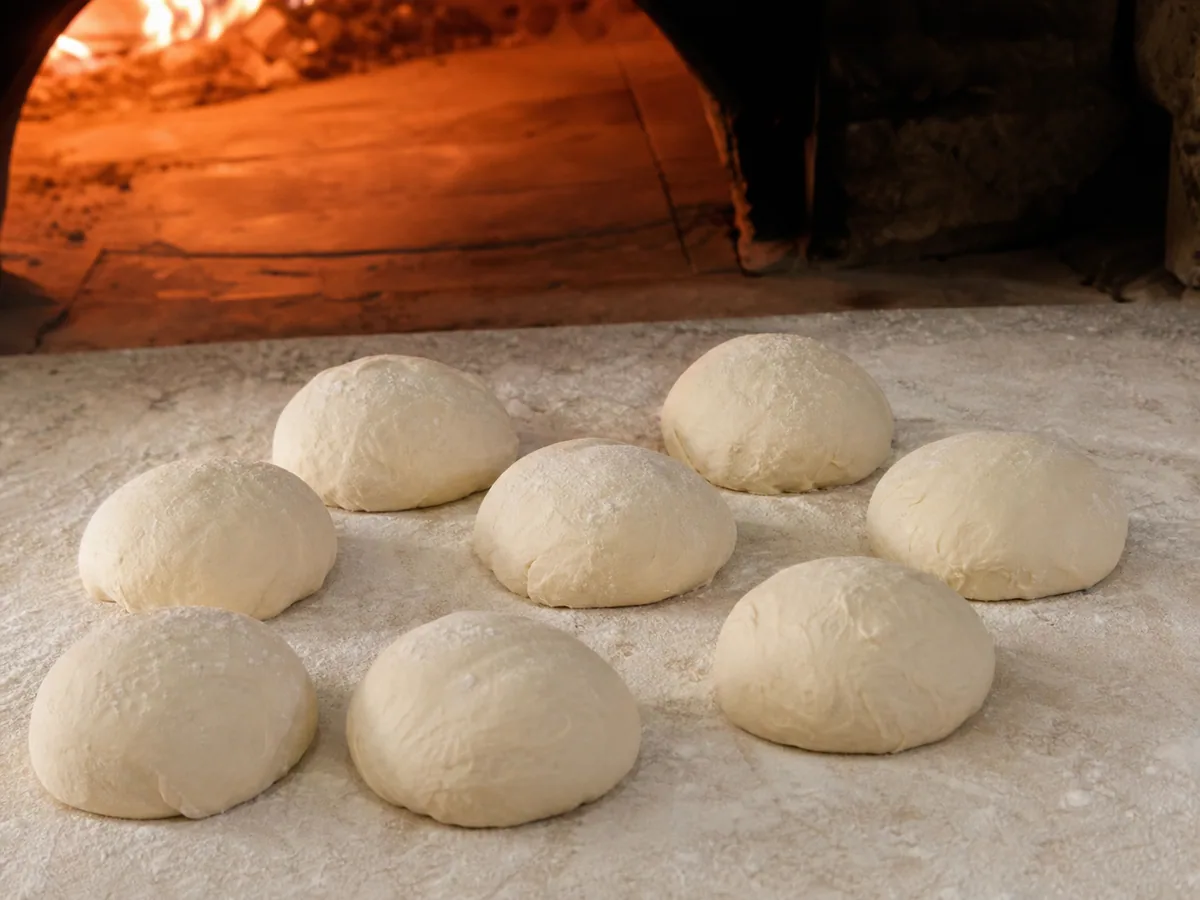
Place a baking stone, pizza steel, or heavy inverted baking sheet on the middle rack. Heat the oven to 250°C (480°F) for at least 45 minutes so the surface is thoroughly saturated with heat. Turn the risen dough onto a lightly floured work surface and divide it into one equal portion for every two servings. Shape each portion into a loose ball, cover, and rest for 15 minutes while the oven continues heating.
45:00Shape the pointed loaves
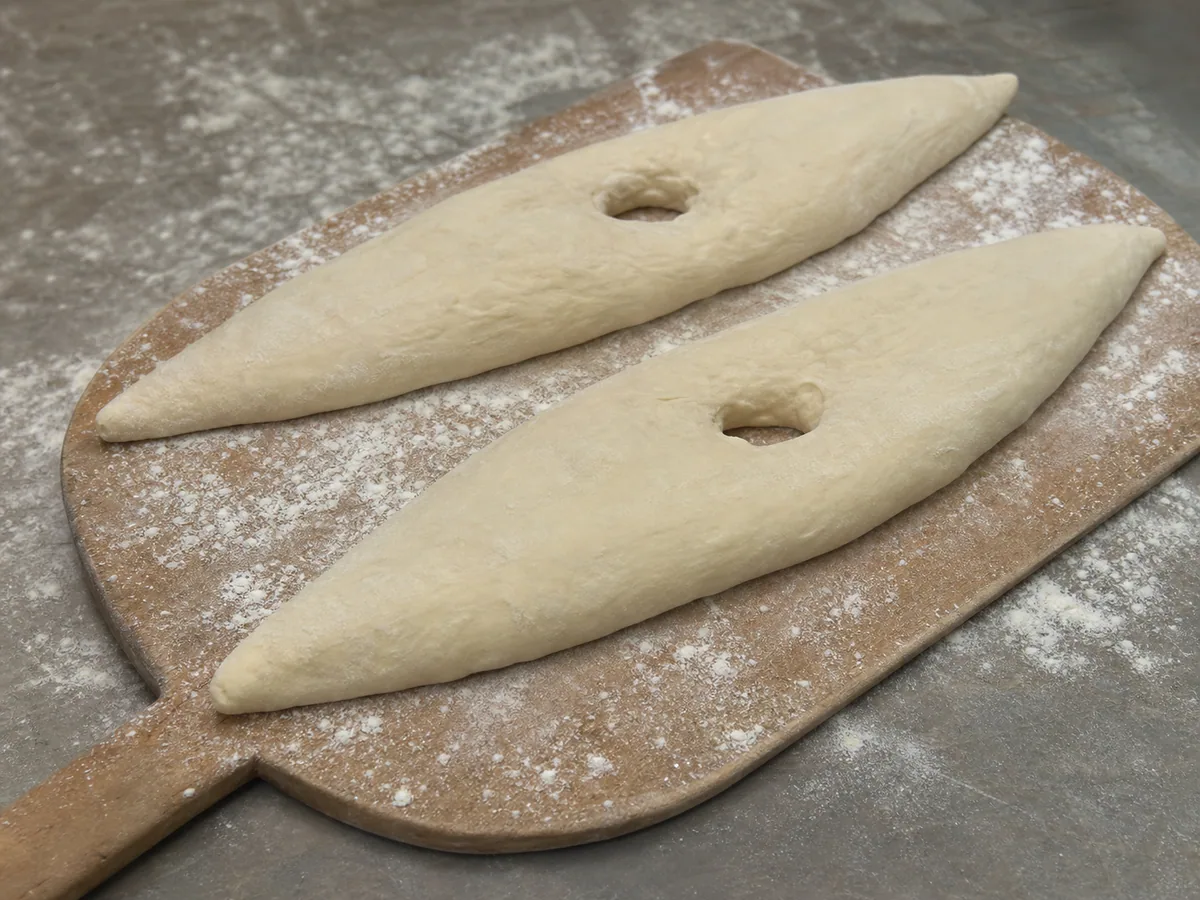
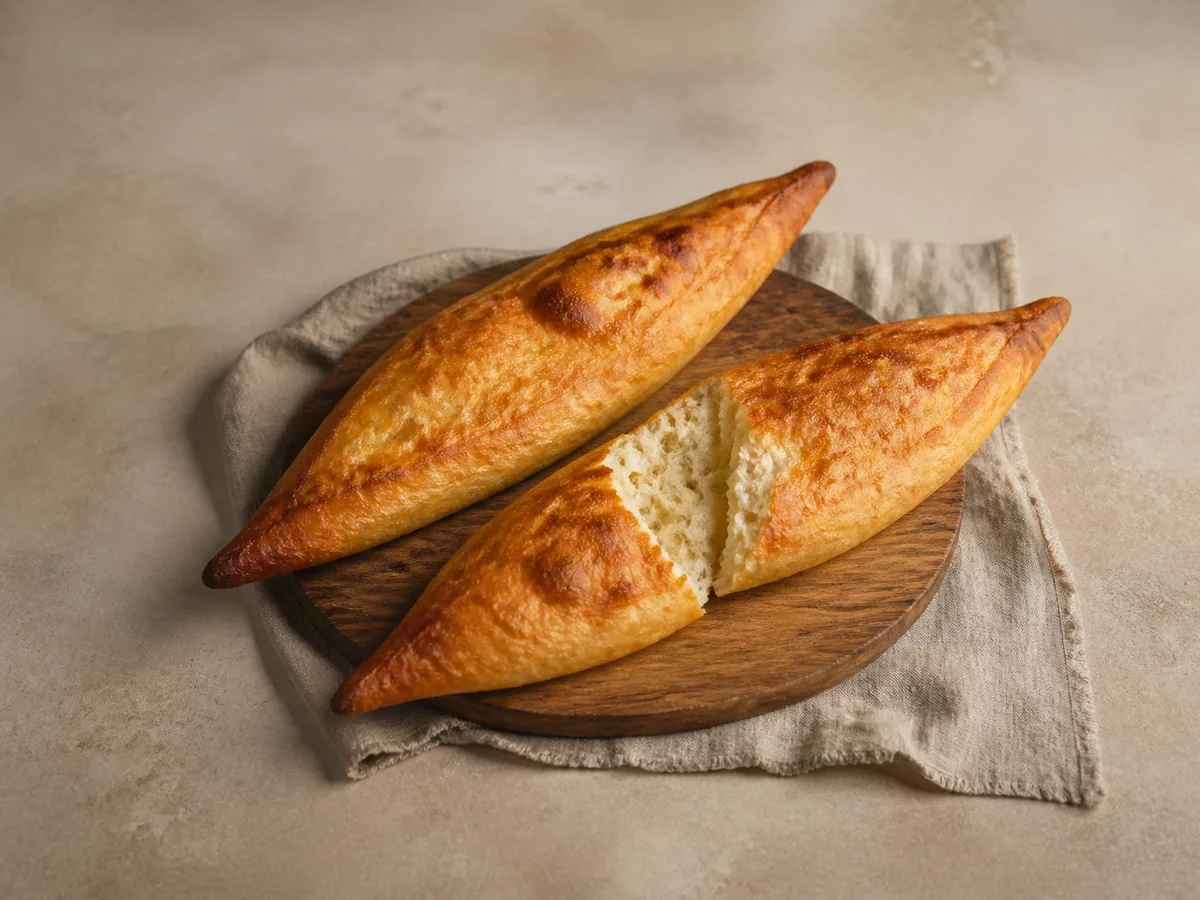
Working with one portion at a time, press the dough into an oval, then stretch it gently to 35 to 40 cm (14 to 16 in) long. Keep the middle about 12 to 15 cm (5 to 6 in) wide and taper both ends to points. Press the center flatter while leaving a slightly thicker border, then open a 2.5 cm (1 in) vent hole in the middle. Set each loaf on a well-floured peel or flat board, cover lightly, and proof for 25 to 30 minutes. Start checking at 25 minutes; the dough should look relaxed and slightly puffy, not doubled.
25:00Bake until blistered and deep golden
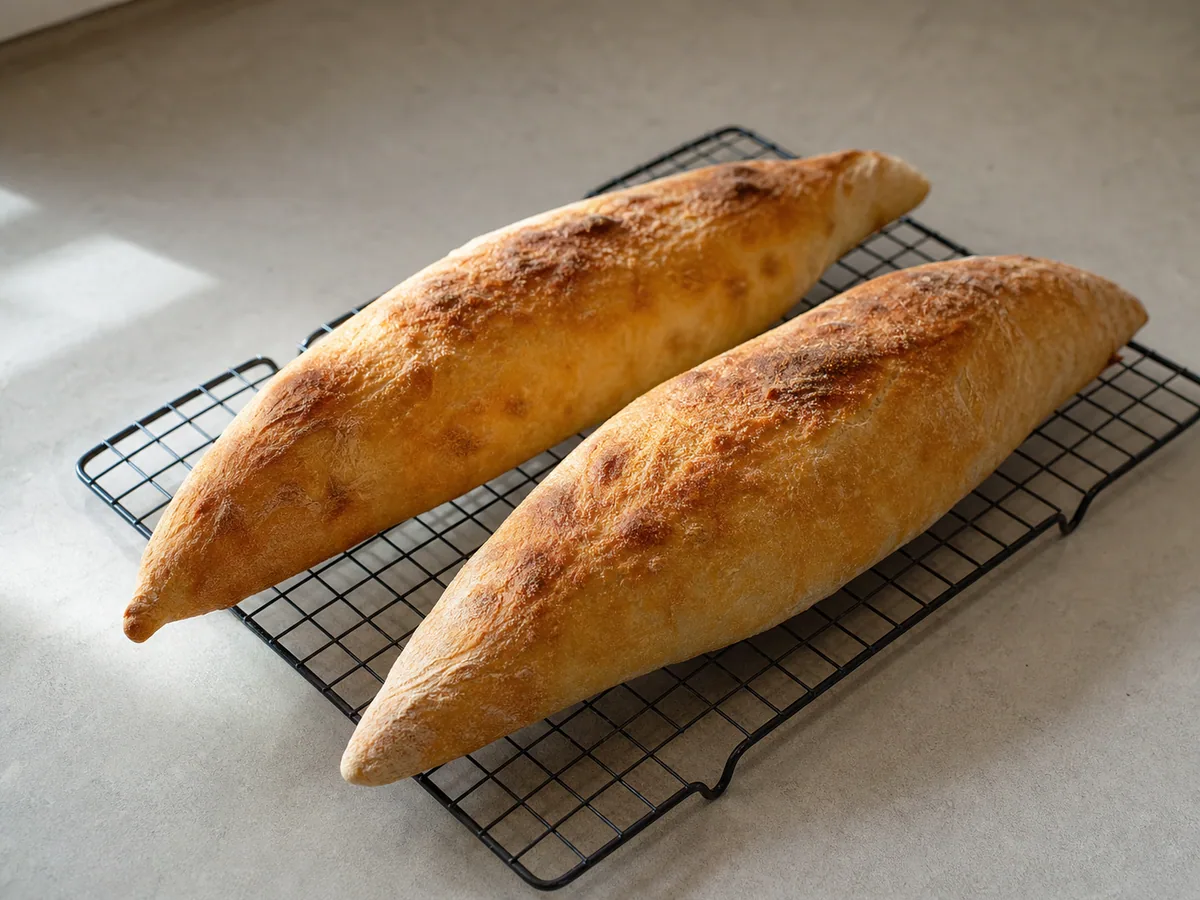
Check the center vent on each proofed loaf and reopen it if it has narrowed or closed. Slide the loaves onto the fully heated surface, leaving room for hot air to circulate. Bake only as many as fit without touching, allowing the surface to regain heat between batches when needed. Bake for 10 to 14 minutes, checking at 10 minutes, until the pointed ends are crisp, the center is deep golden, and scattered dark blisters mark the crust. Transfer to a wire rack for 5 minutes, then tear and serve warm.
10:00


Smart Substitutions
- No bread flour? Use unbleached all-purpose flour and hold back a little water at first; add enough to make a soft, tacky dough rather than a loose batter.
- Using instant yeast? Use the same weight and mix it directly with the flour as written.
- Want some whole grain? Replace up to one-fifth of the bread flour with whole-wheat flour and add water gradually if the dough feels firm.
- No stone or steel? Preheat a sturdy rimmed baking sheet upside down; its flat underside gives the loaves a broad, evenly heated landing surface.
Tips and Variations
- Weigh the flour and water when possible; this dough should be supple and tacky, not stiff enough to hold sharp creases.
- If the dough springs back while shaping, cover it for 5 minutes, then continue stretching instead of forcing it.
- Keep the center visibly thinner than the border so it bakes through before the pointed ends become too dark.
- Give the baking surface the full preheat; a hot oven without a thoroughly heated surface produces a pale, soft underside.
What Went Wrong?
- The crumb is dense Let the first rise continue until the dough is clearly aerated, and avoid adding excess flour during kneading or shaping.
- The loaf puffs like a balloon Flatten the center more firmly and reopen the vent hole immediately before the loaf goes into the oven.
- The crust stays pale Preheat the baking surface longer and confirm the oven has reached 250°C (480°F) before loading the bread.
- The dough sticks to the peel Dust the peel lightly, shape efficiently, and give it a quick shake before sliding the loaf into the oven.
Nutrition Estimate
- Fiber: 3 g per serving
- Sodium: 875 mg per serving
Nutrition disclaimer:This recipe is provided for general cooking information only. Nutrition values are estimates and may vary by ingredients, brands, preparation methods, and serving sizes. Check ingredient labels and follow appropriate food-safety practices. This content is not medical, dietary, allergy, or professional food-safety advice.
FAQ
Found an error or have a suggestion?
Help us improve this recipe. Send us your feedback and include the recipe name so we can take a look.