Method
Mix and hydrate the dough
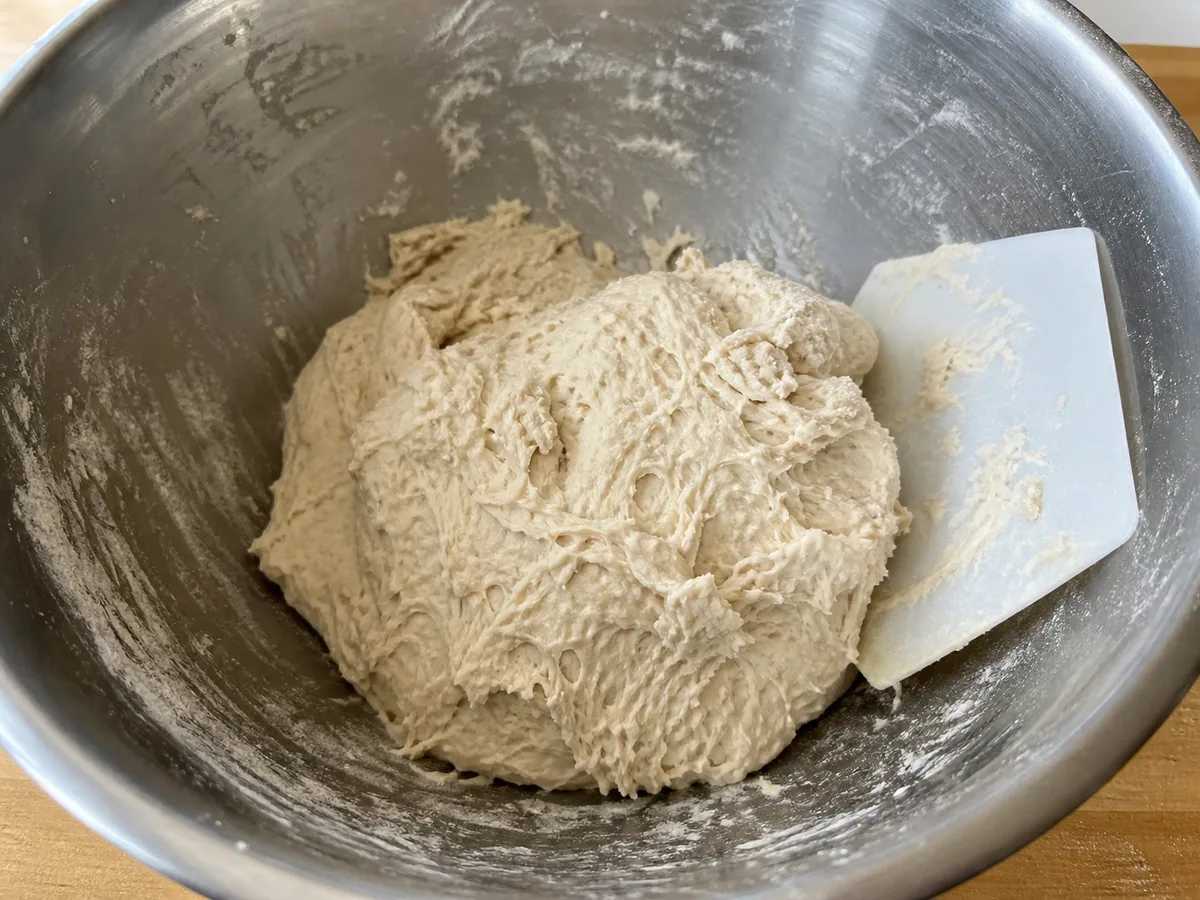
Warm 330 ml of water to about 38°C (100°F); it should feel warm, not hot. In a large bowl, stir together 330 ml of water, 8 g of granulated sugar, and 7 g of instant yeast. Add 500 g of unbleached bread flour (wheat) and mix with a sturdy spoon or dough scraper until no dry flour remains. Cover the bowl and let the rough dough hydrate for 15 minutes. Do not taste the raw dough.
15:00Knead and start the first rise
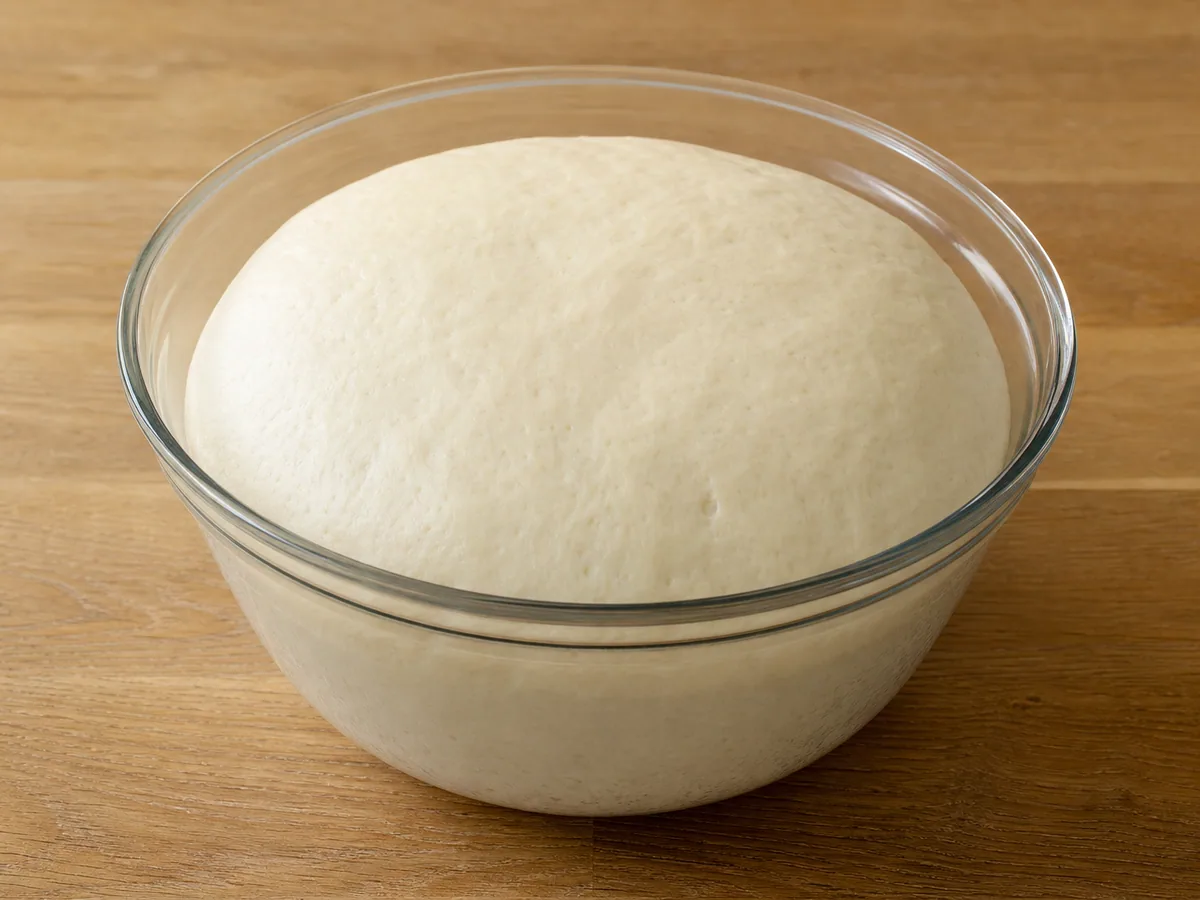
Add 10 g of fine sea salt to the dough. Knead on a clean surface for 7 to 9 minutes, using a dough scraper rather than extra flour when it sticks, until smooth, elastic, and able to stretch into a thin translucent window without tearing. Return it to the bowl, cover, and let rise in a warm, draft-free spot for about 60 minutes, until nearly doubled and softly domed. The timer measures the rise.
60:00Divide and preshape the rolls
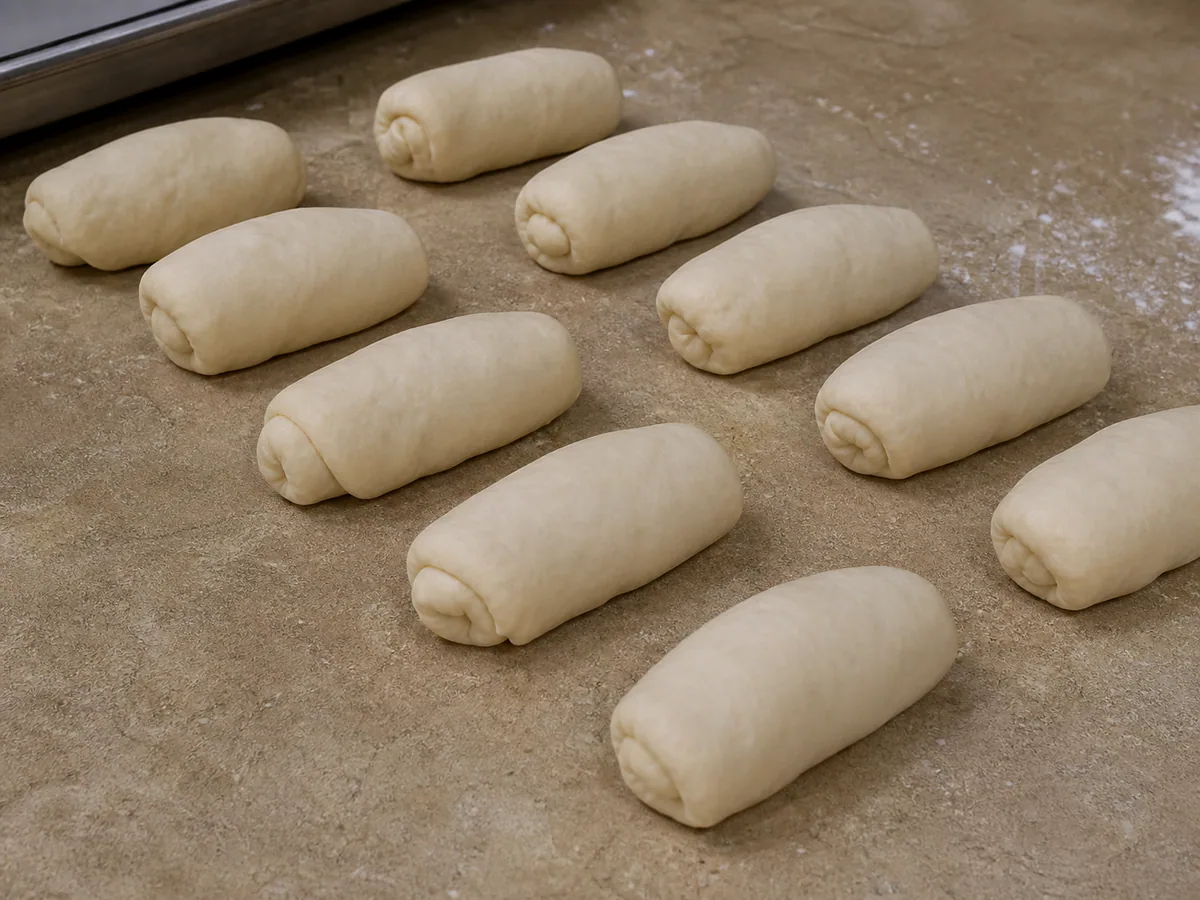
Turn the dough onto a clean surface and divide it into one equal piece per serving. Gently flatten each piece, fold the edges inward, and roll it into a short cylinder. Set the pieces seam-side down, cover, and let them relax for 10 minutes so the gluten becomes easier to shape.
10:00Shape the bolillos
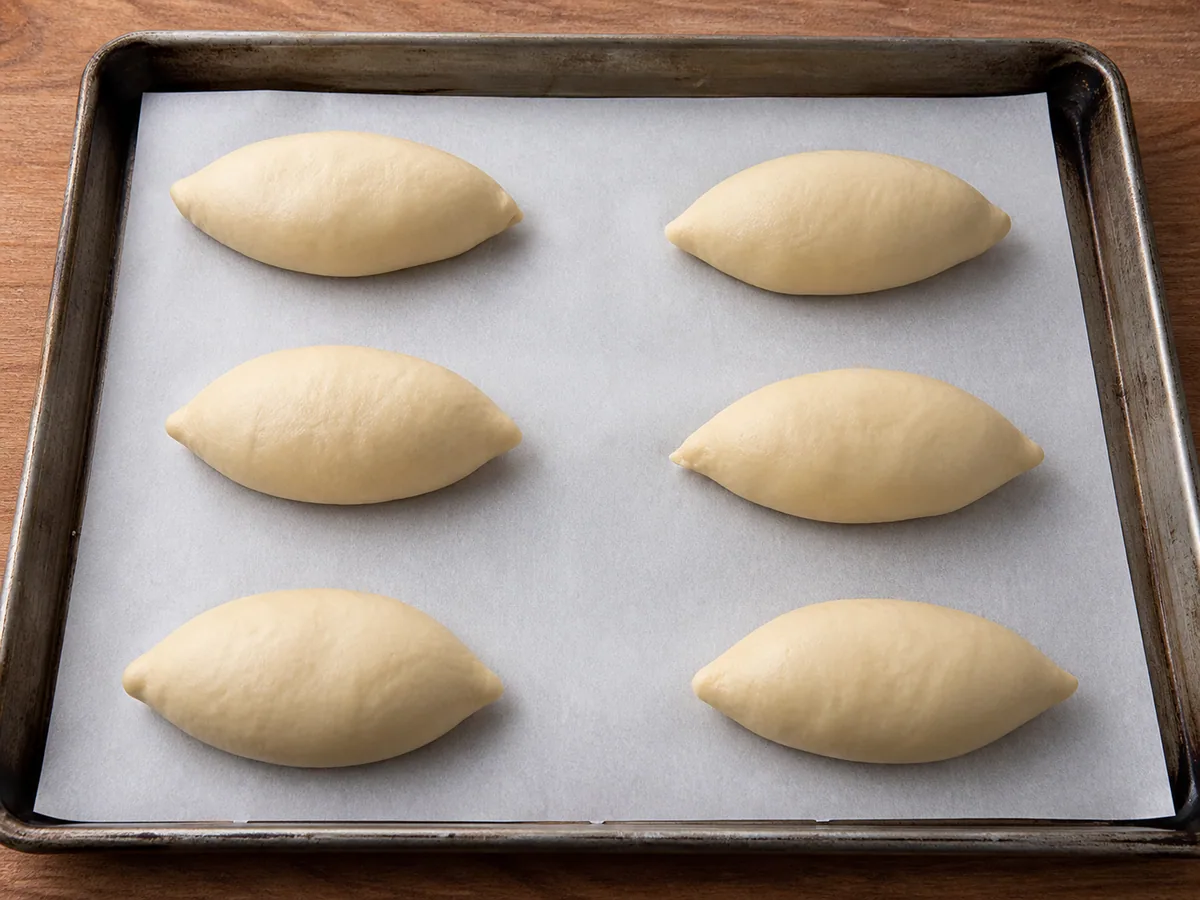
Working with one piece at a time, place it seam-side up and press it into a small rectangle. Fold the top third toward the center and seal firmly; repeat the fold once more to make a tight log. Pinch the seam closed, then roll from the center outward, adding pressure near the ends to form an oval with two short tapered tips. Arrange the rolls seam-side down with space between them on a sheet of parchment set on a rimless baking sheet or flat transfer board.
Proof the rolls and heat the oven
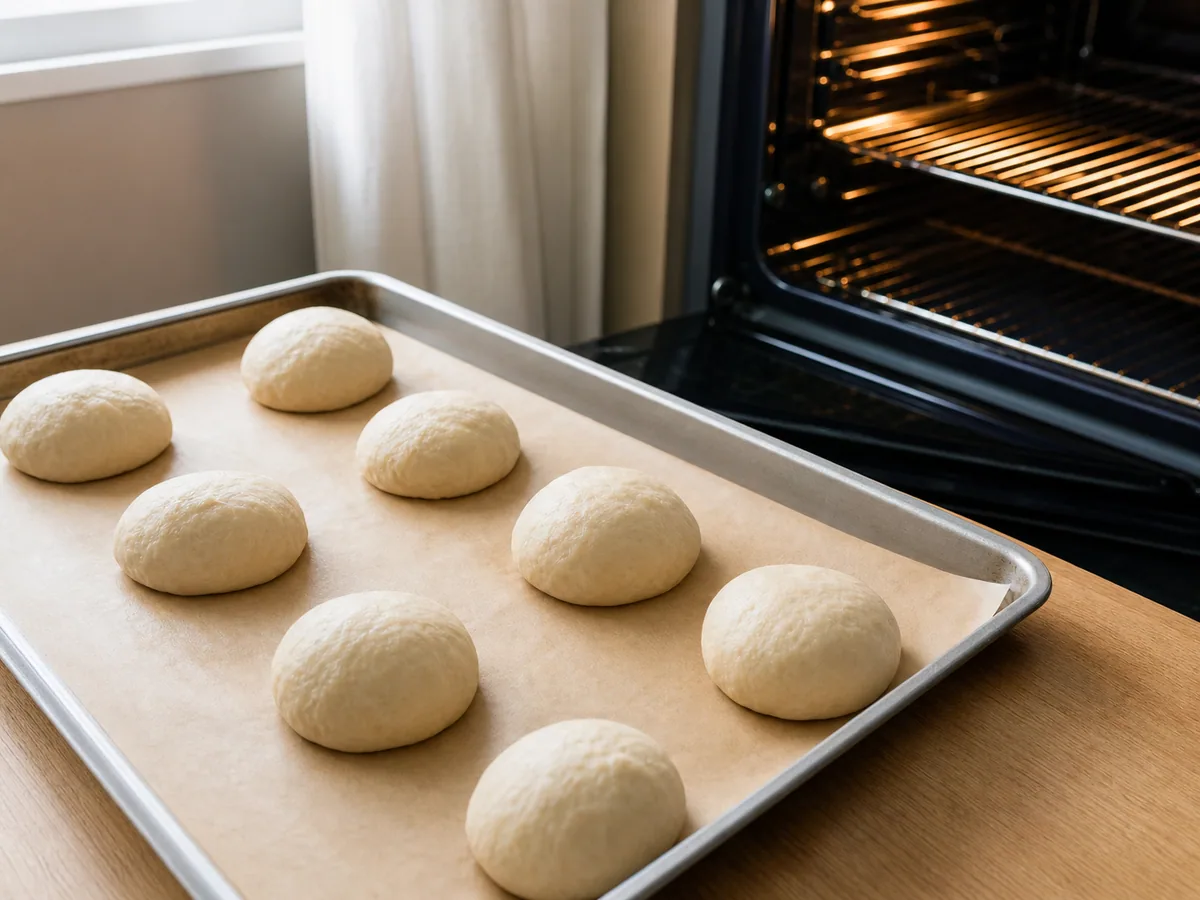
Loosely cover the shaped rolls and proof them for 35 to 45 minutes. Start testing at 35 minutes; they are ready when they look clearly expanded and a lightly floured fingertip indentation fills back gradually while leaving a faint mark. During the proof, heat the oven to 232°C (450°F) with a baking stone, baking steel, or inverted heavy sheet pan on the middle rack and a sturdy empty metal pan on the lower rack for steam. Do not use glass for the steam pan.
35:00Score, steam, and bake
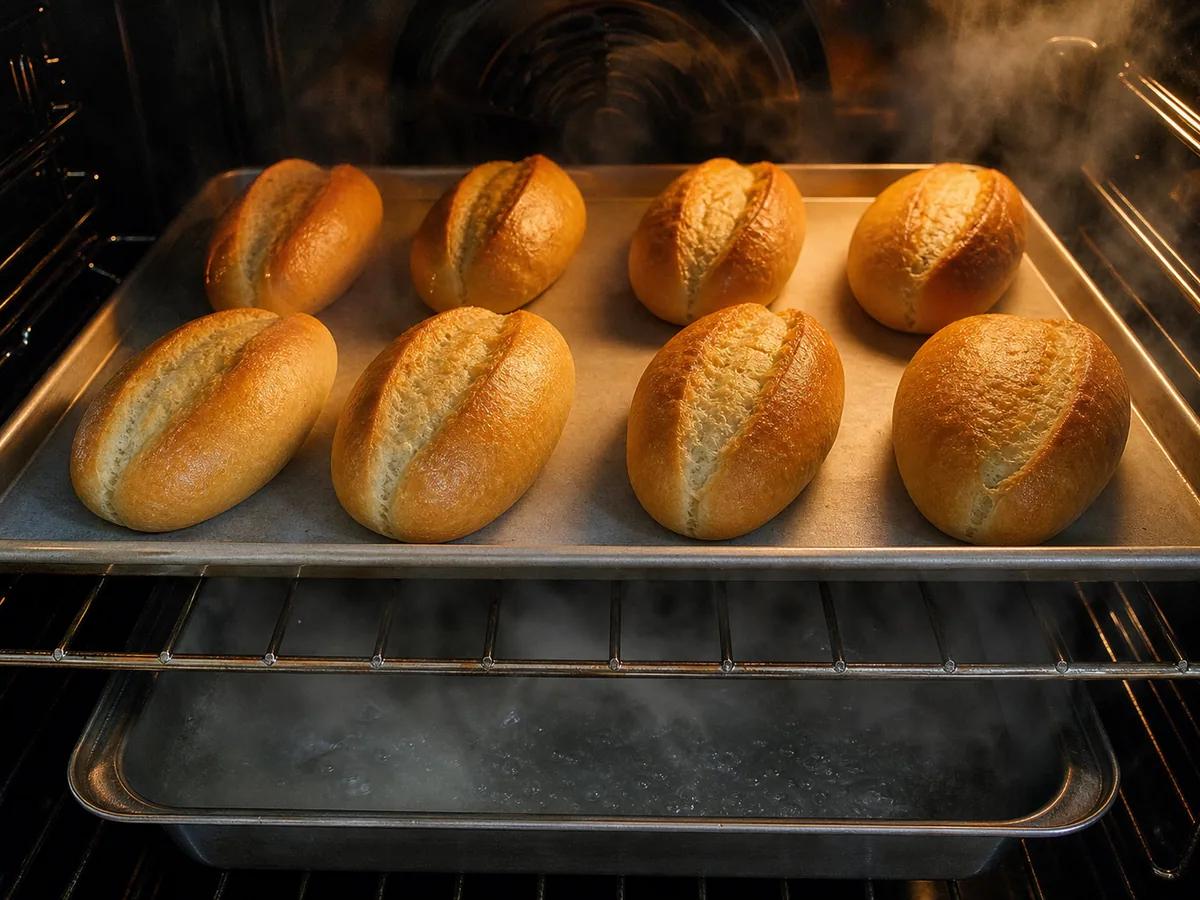
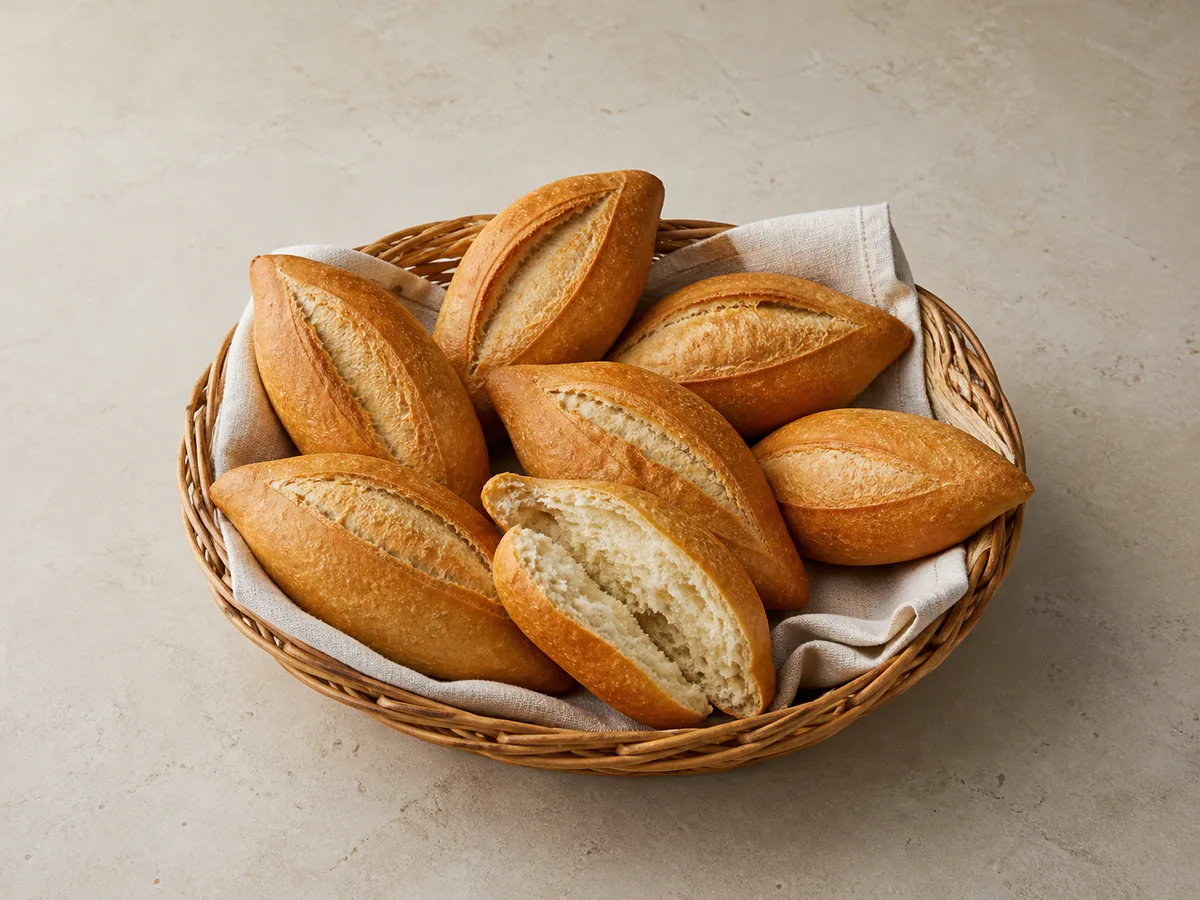
Bring 240 ml (1 cup) of water to a boil. With a razor or very sharp knife held at a shallow angle, make one confident lengthwise cut about 6 mm (1/4 in) deep along each roll. Slide the parchment and rolls from the flat transfer sheet onto the preheated baking surface. Keeping your face and hands away from the steam pan, carefully pour in the boiling water and close the oven at once. Bake for 20 to 25 minutes, turning the parchment or baking surface orientation after 15 minutes if the oven browns unevenly. Begin checking at 20 minutes; the bolillos should have a firm, deeply golden crust, sound hollow when tapped underneath, and register at least 88°C (190°F) when an instant-read thermometer is inserted through the side.
20:00Set the crumb and serve
Transfer the bolillos to a wire rack and let them cool for 20 minutes so the crumb can set and the crust stays crisp. Split with a serrated knife for tortas or molletes, or serve whole alongside soups, beans, or saucy dishes.
20:00


Smart Substitutions
- No bread flour? Use unbleached all-purpose flour and hold back a small splash of water at first, adding it only if the dough feels firm.
- Using active dry yeast? Use the same weight and let it stand in the warm water with the sugar until visibly foamy before adding the flour.
- No bread lame? Use a clean razor blade or the thinnest, sharpest knife available and make one confident cut at a shallow angle.
- No baking stone? Preheat an inverted heavy sheet pan on the middle rack. Proof the rolls on parchment set on a rimless sheet or flat board, then slide the parchment directly onto the hot inverted pan.
Tips and Variations
- Weigh the flour when possible; small measuring differences can turn a light crumb into a dense one.
- Keep the center of each roll full and taper only the last 2 to 3 cm (about 1 in) at both ends.
- Score immediately before baking so the cut stays open and guides the oven spring along the center.
What Went Wrong?
- Rolls spread sideways The seam may be loose or the dough may be overproofed. Seal the log firmly and bake when a fingertip mark returns slowly rather than staying sunken.
- Crumb is dense The dough was likely too dry or underproofed. Use a scraper instead of extra flour and wait for clear expansion during both rises.
- Score seals during baking Make one confident cut at a shallow angle immediately before the tray goes into the oven; a vertical or hesitant cut can close as the roll expands.
- Crust is pale or soft Give the oven a full preheat, use the hot metal steam pan, and bake until the rolls are deeply golden. Pale rolls are usually underbaked.
Nutrition Estimate
- Fiber: 2 g per serving
- Sodium: 500 mg per serving
Nutrition disclaimer:This recipe is provided for general cooking information only. Nutrition values are estimates and may vary by ingredients, brands, preparation methods, and serving sizes. Check ingredient labels and follow appropriate food-safety practices. This content is not medical, dietary, allergy, or professional food-safety advice.
FAQ
Found an error or have a suggestion?
Help us improve this recipe. Send us your feedback and include the recipe name so we can take a look.