Method
Rinse and soak the rice
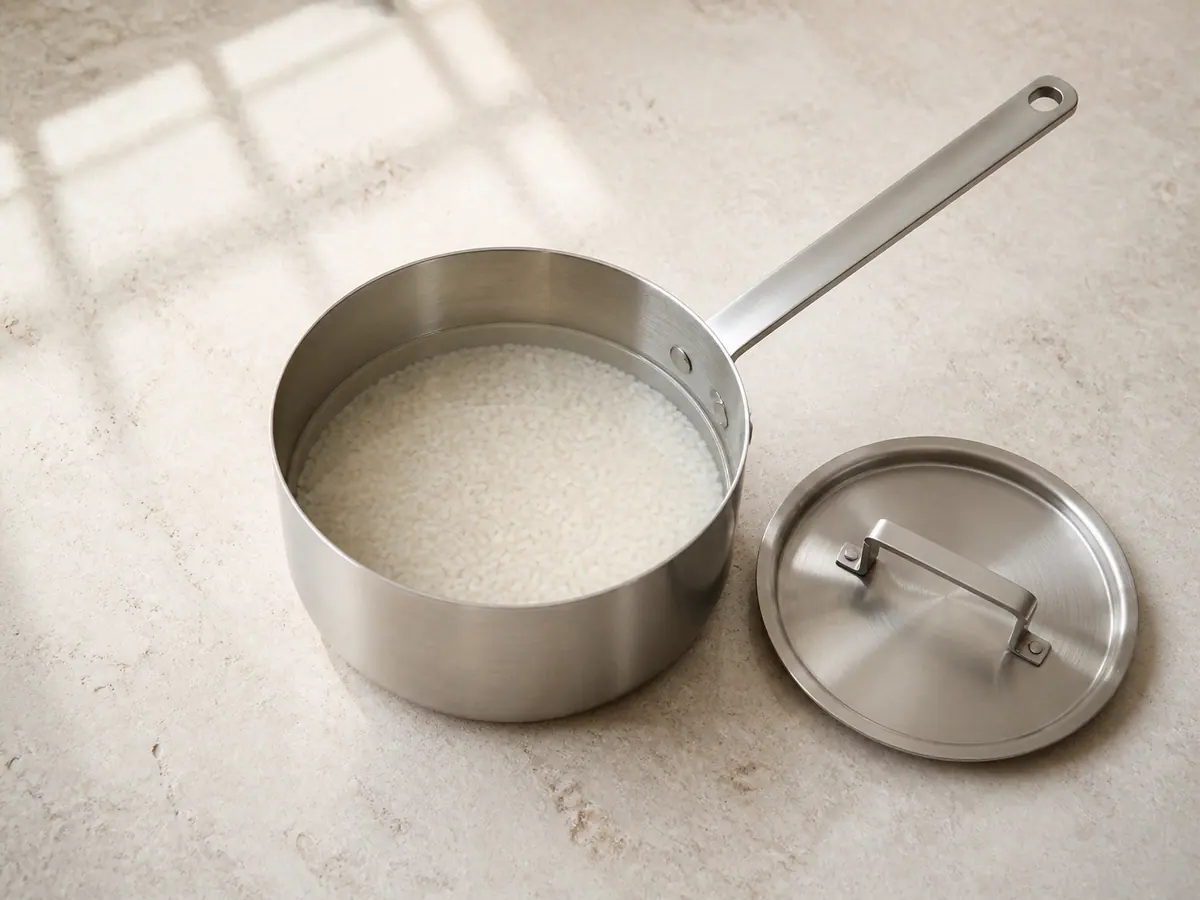
Rinse 300 g of Japanese short-grain rice in a bowl with cool water, changing the water several times until it is mostly clear, then drain well. Add 300 g of Japanese short-grain rice and 400 ml of water for rice to a medium saucepan with a tight-fitting lid and let the rice soak for 20 minutes before heating.
20:00Cook the rice
Set the saucepan of soaked 300 g of Japanese short-grain rice and 400 ml of water for rice over medium-high heat and bring to a boil. Cover with the tight-fitting lid, reduce the heat to the lowest setting, and cook for 12 minutes without lifting the lid.
12:00Let the rice stand
Remove the saucepan from the heat and let the rice stand, still covered, for 10 minutes. Keep the lid closed so the trapped steam finishes the grains evenly; move on to the ingredient preparation while the rice stands.
10:00Prepare the chicken and vegetables
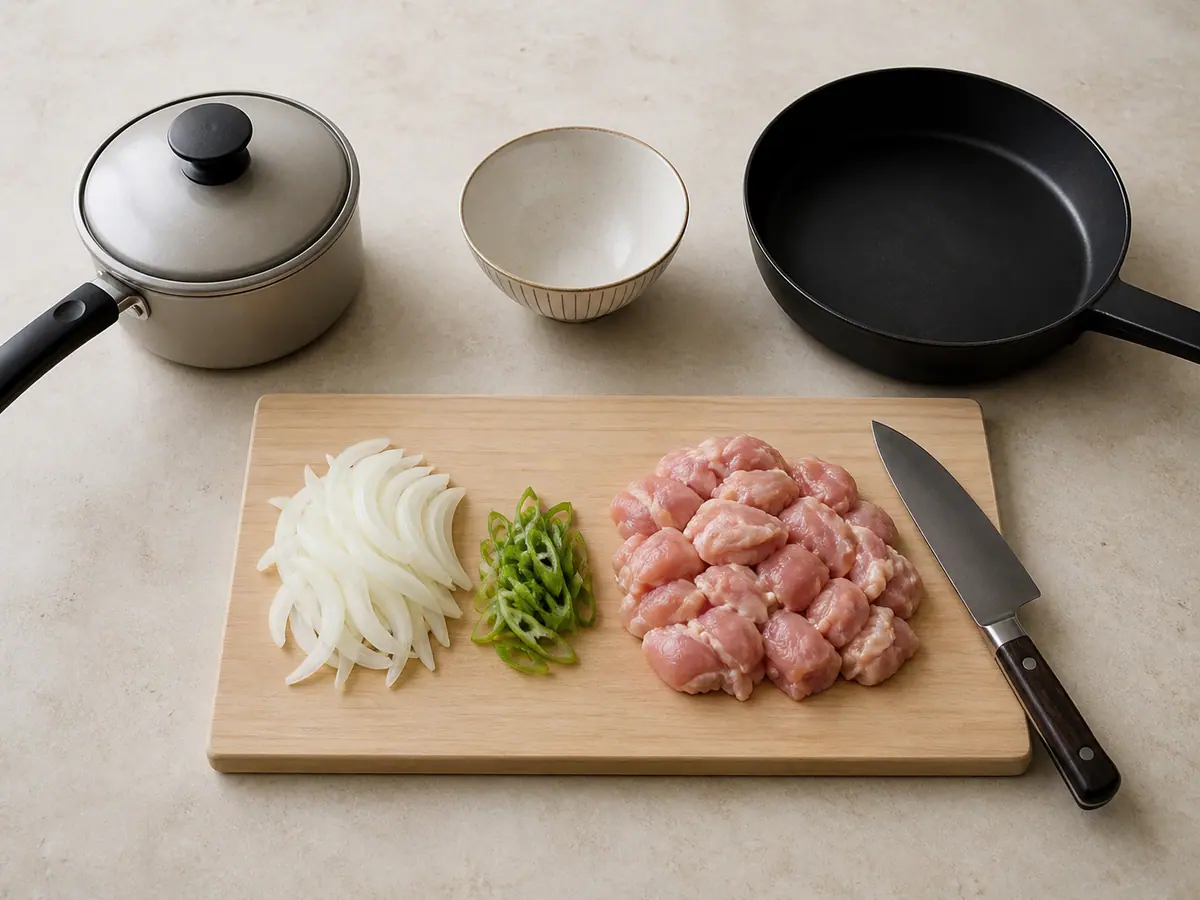
Thinly slice 180 g of yellow onion. Thinly slice 2 scallions and set them aside for serving. Cut 450 g of boneless skinless chicken thighs into pieces about 2.5 cm (1 in) wide on a board reserved for raw poultry. Wash your hands, knife, board, and nearby surfaces with hot soapy water before handling the eggs or ready-to-eat garnishes.
Build the onion broth
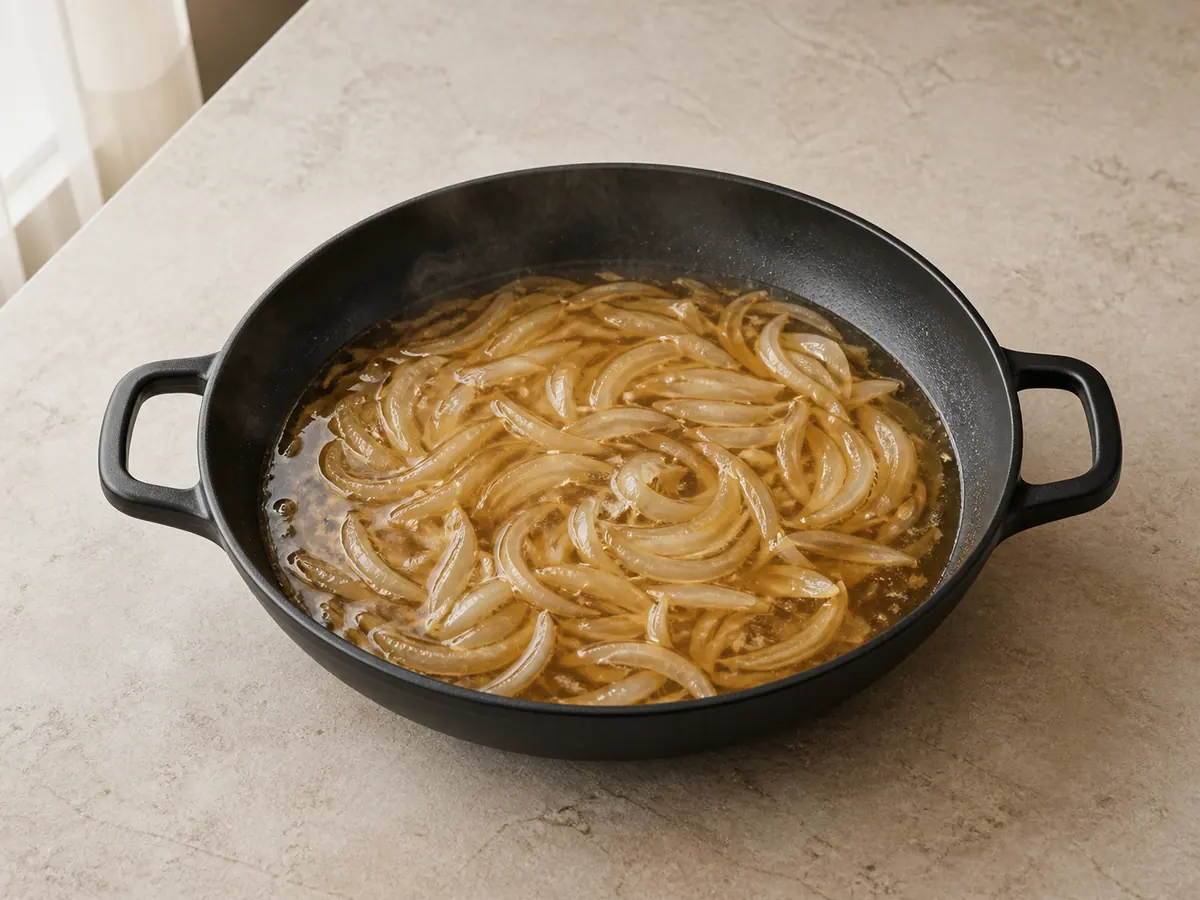
Combine 240 ml of unsalted bonito dashi stock (contains fish), 45 ml of reduced-sodium soy sauce (contains soy and wheat), 18 g of granulated sugar, and 10 ml of rice vinegar in a wide skillet or shallow saucepan. Bring the mixture to a gentle simmer over medium heat, stirring until the sugar dissolves. Add 180 g of yellow onion, spread it into an even layer, cover, and simmer for 4 minutes, until the slices begin to turn translucent but still hold their shape.
04:00Cook the chicken through
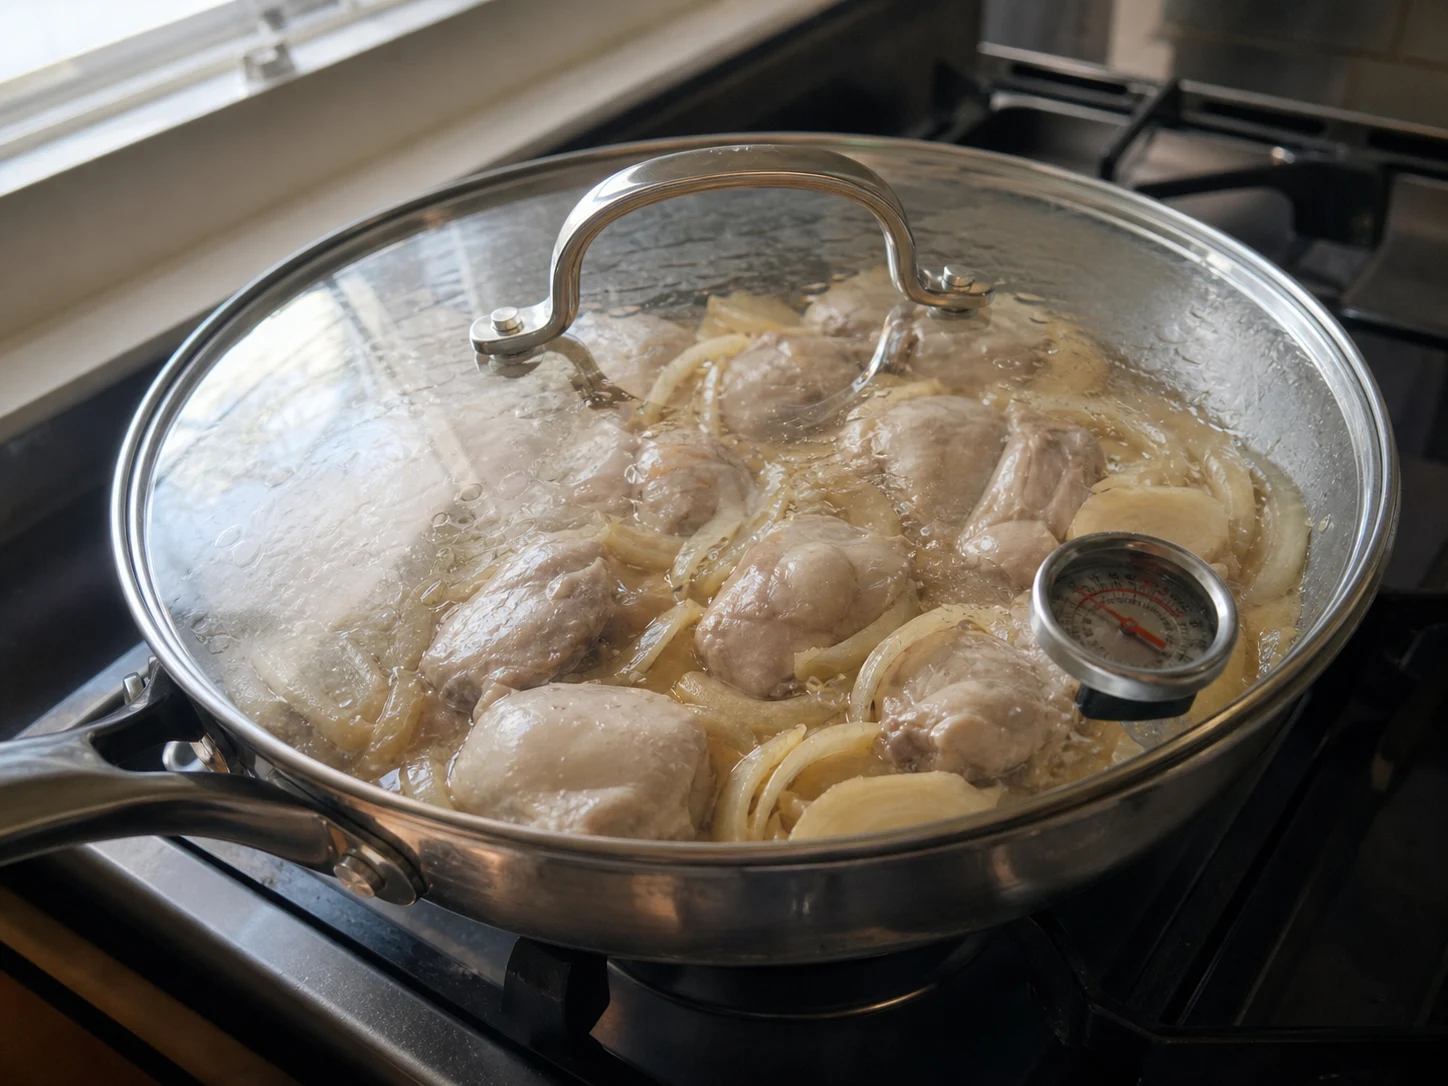
Arrange 450 g of boneless skinless chicken thighs over the onion in a single layer. Cover and simmer gently for 7 to 9 minutes, turning the pieces once, until they are opaque throughout. Start checking at 7 minutes with a food thermometer; the thickest pieces must reach 74°C (165°F). Keep the simmer gentle so the chicken stays tender and the broth does not reduce too quickly.
07:00Set the eggs completely
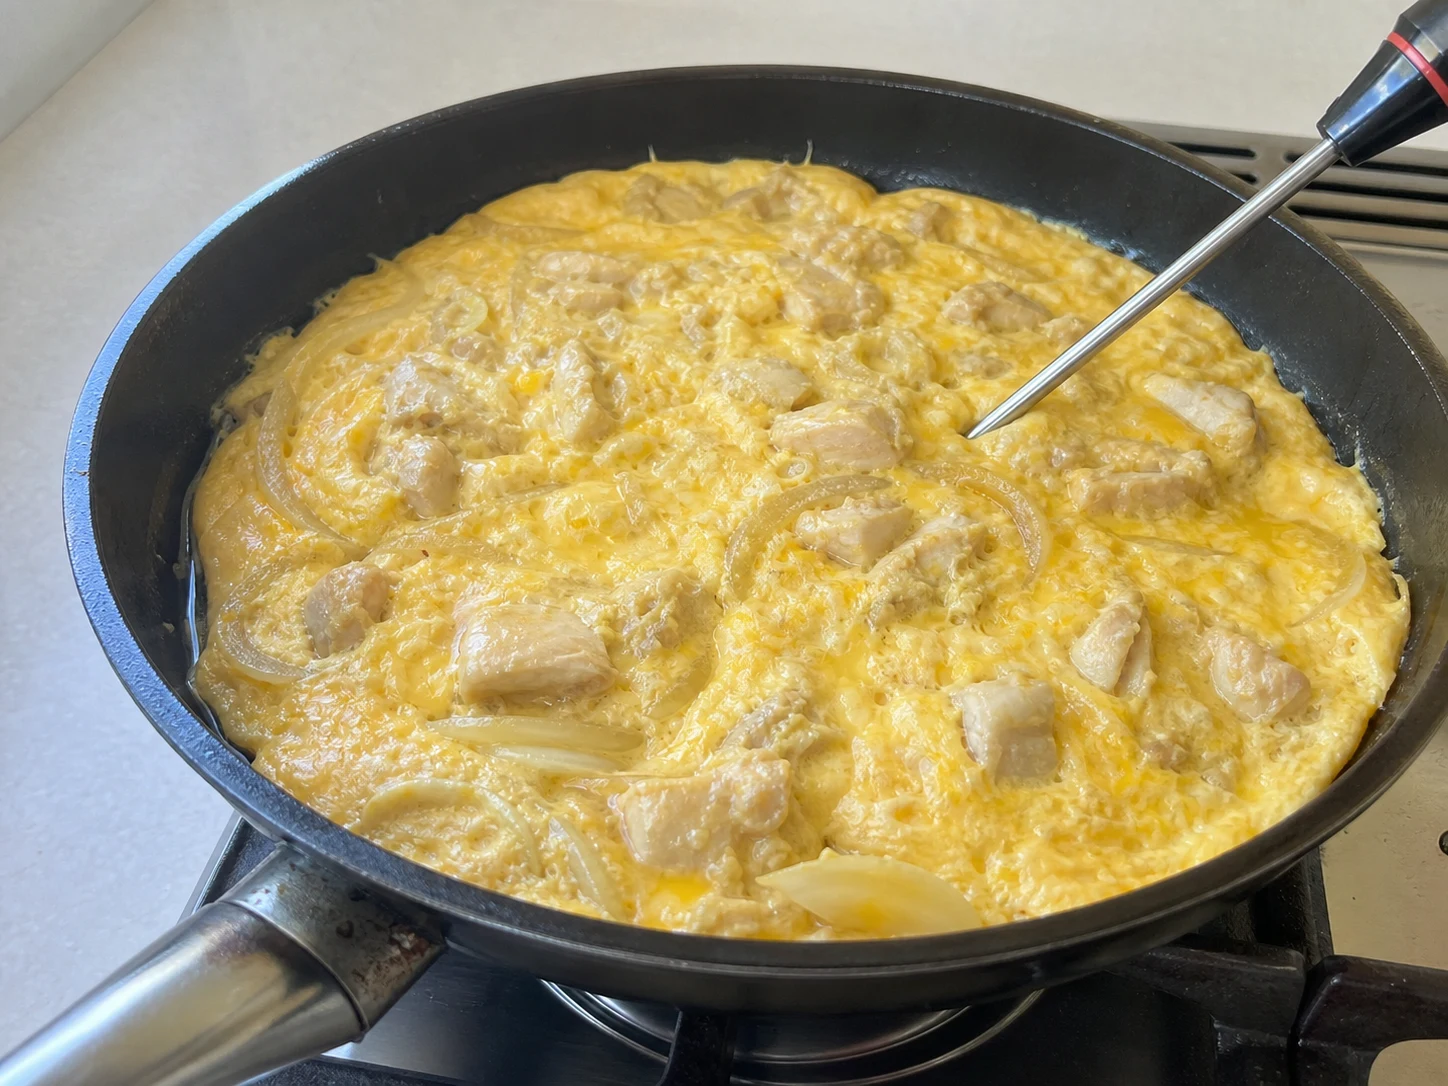
Crack 6 large eggs into a bowl and beat just until the whites and yolks are combined. Lower the heat, pour the eggs evenly around the cooked chicken and onion, and cover the pan. Cook for 4 to 6 minutes, starting the check at 4 minutes, until no liquid egg remains, the entire surface is opaque and firm, and the center of the egg mixture reaches 71°C (160°F). If any glossy wet patches remain, cover and continue in 30-second intervals.
04:00Assemble and serve
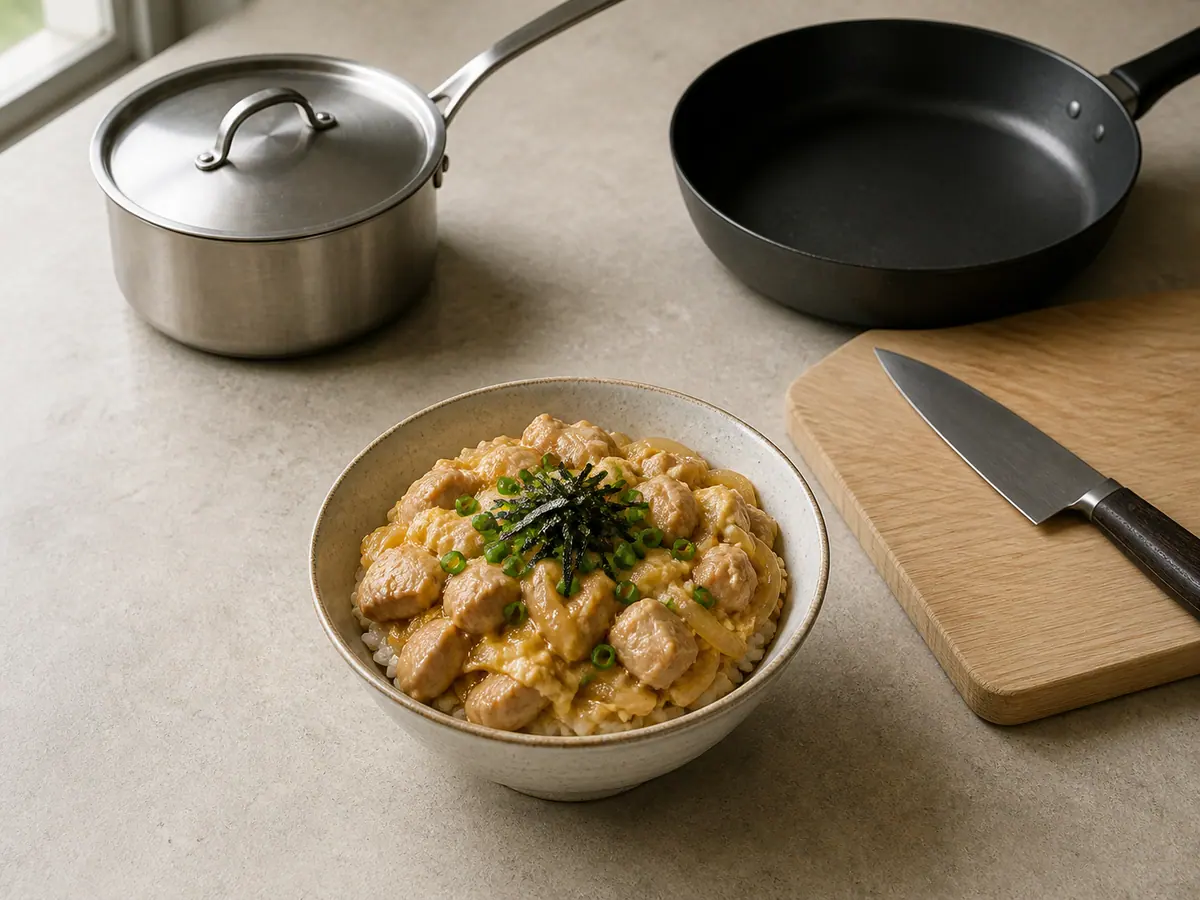
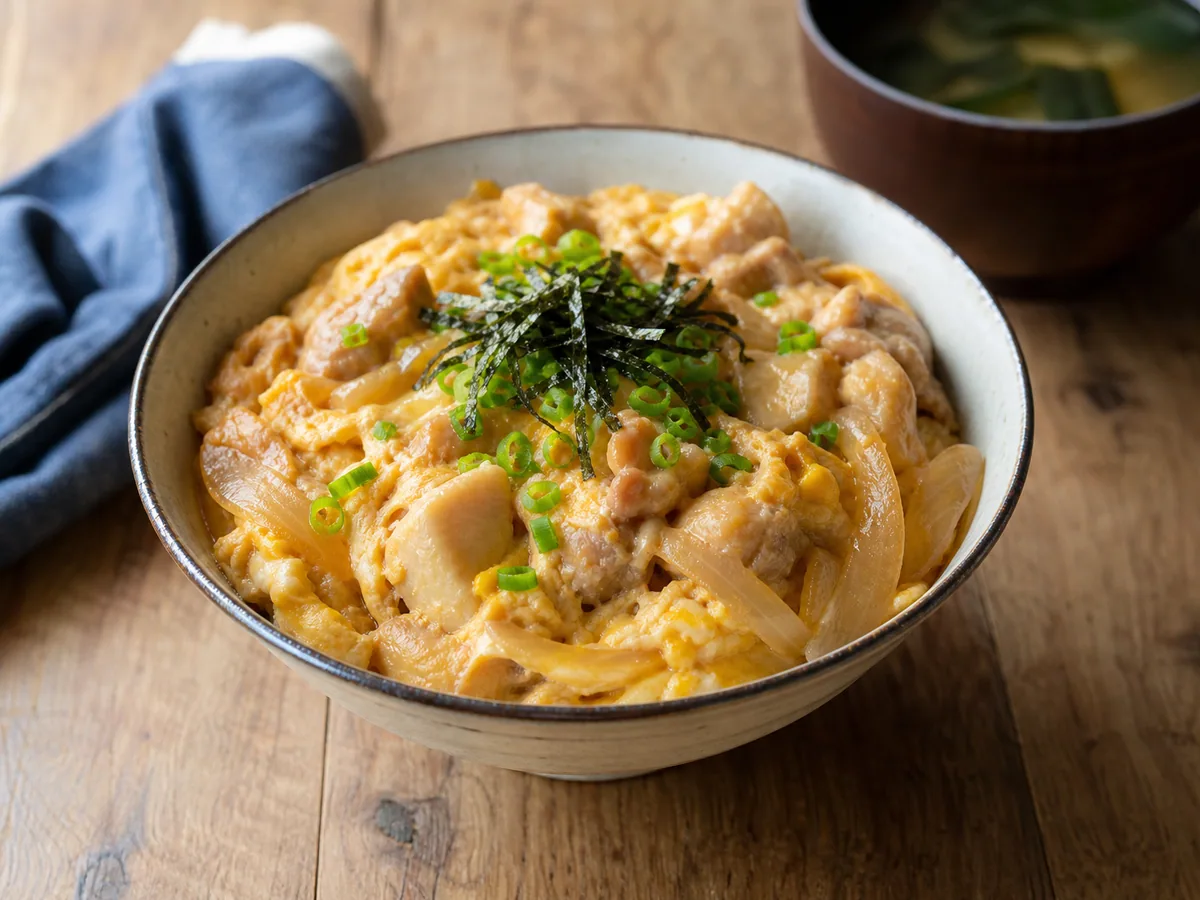
Fluff the rice gently with a rice paddle or fork and divide it among serving bowls. Spoon the fully cooked chicken, onion, egg, and enough broth to moisten the rice over each portion. Finish with 2 scallions and toasted nori (optional), then serve immediately while the rice and topping are hot.


Smart Substitutions
- No bonito dashi? Use unsalted kombu dashi for a fish-free broth, or use unsalted chicken stock for a milder result.
- Prefer chicken breast? Use boneless skinless breast cut into even bite-size pieces and begin checking the temperature a little earlier.
- Need a wheat-free sauce? Use reduced-sodium tamari labeled wheat-free in place of the soy sauce.
- No rice vinegar? Use a small squeeze of fresh lemon juice to keep the sauce balanced rather than simply adding more sugar.
Tips and Variations
- Choose a wide skillet with a lid; a crowded pan makes the chicken cook unevenly and the egg layer too thick.
- Beat the eggs only until combined. Excess foam creates a dry, spongy surface instead of tender fully set curds.
- Taste the broth before adding the raw chicken and adjust the sweet-salty balance at that point.
What Went Wrong?
- Egg is still wet in the center Cover the pan and continue over low heat in 30-second intervals until the surface is fully opaque and the center reaches 71°C (160°F).
- Chicken turned dry Keep the broth at a gentle simmer, cut the pieces evenly, and stop cooking once the thickest pieces reach 74°C (165°F).
- Broth tastes too salty Stir in a small splash of unsalted dashi before adding the eggs, then taste again after the broth returns to a simmer.
- Rice is gummy Rinse until the water is mostly clear, drain well, and keep the lid closed during both cooking and standing.
Nutrition Estimate
- Fiber: 2 g per serving
- Sodium: 620 mg per serving
Nutrition disclaimer:This recipe is provided for general cooking information only. Nutrition values are estimates and may vary by ingredients, brands, preparation methods, and serving sizes. Check ingredient labels and follow appropriate food-safety practices. This content is not medical, dietary, allergy, or professional food-safety advice.
FAQ
Found an error or have a suggestion?
Help us improve this recipe. Send us your feedback and include the recipe name so we can take a look.