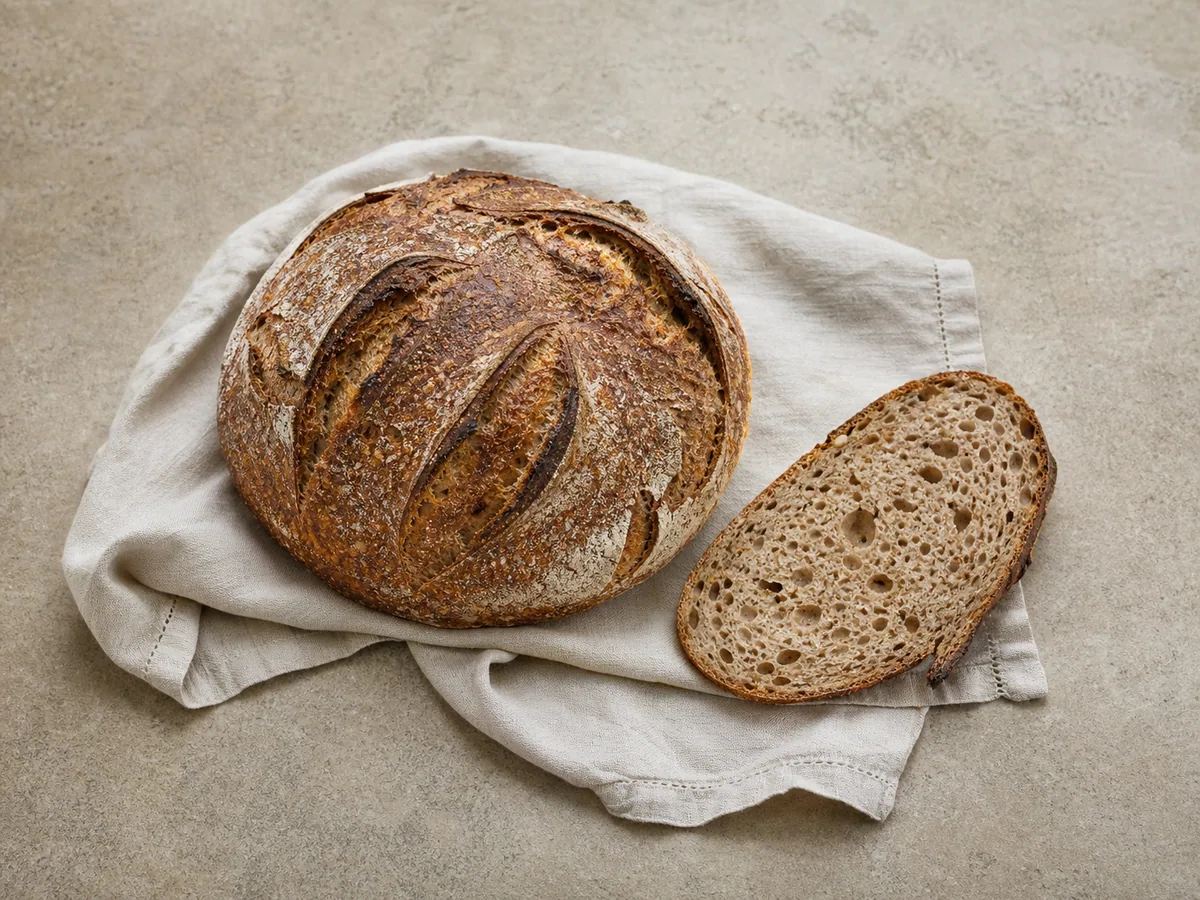
Method
Mix the flour and water
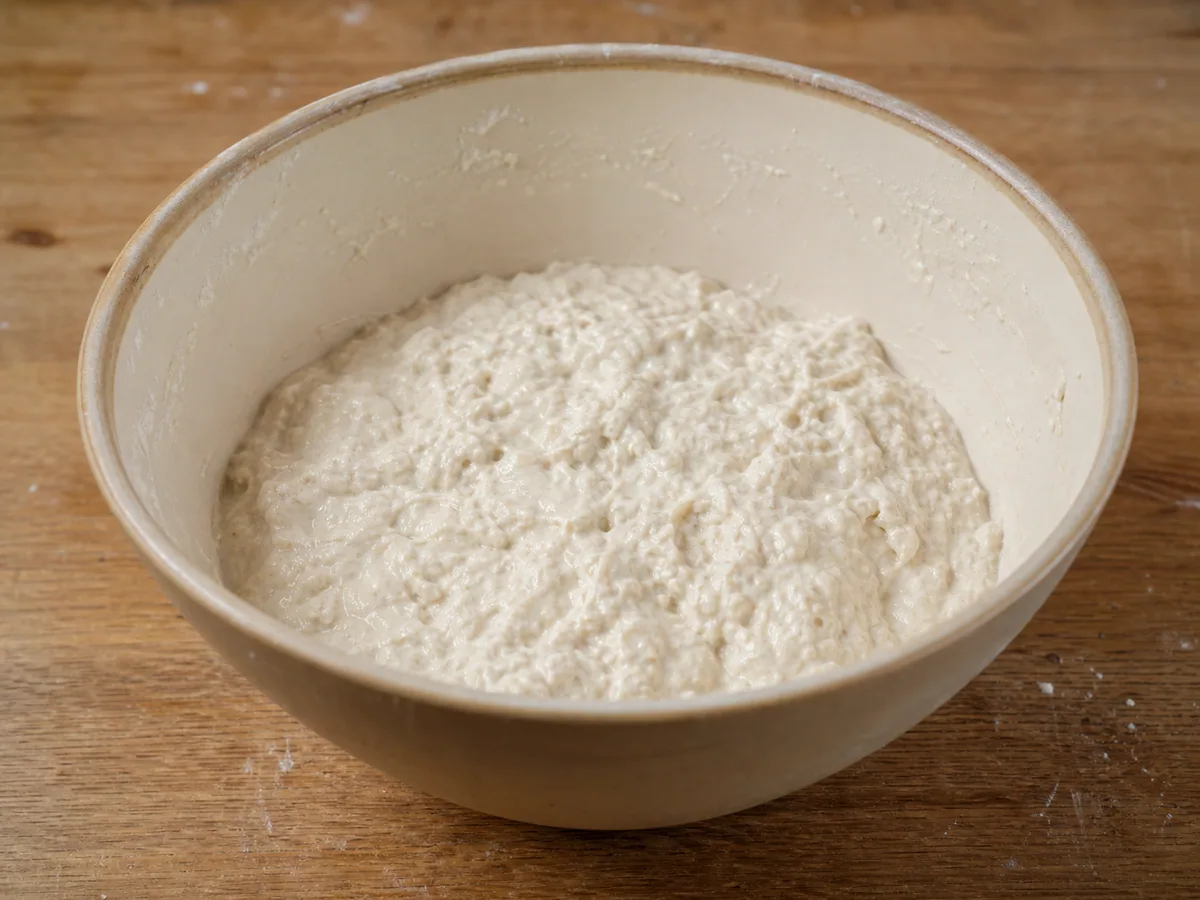
In a large bowl, combine 360 g of bread flour, 90 g of whole wheat flour, 30 g of dark rye flour, and 360 ml of water at about 24°C (75°F). Mix until no dry pockets remain; the dough should look shaggy, rough, and sticky. Cover the bowl and let the flour hydrate for 30 minutes.
30:00Add the starter and salt
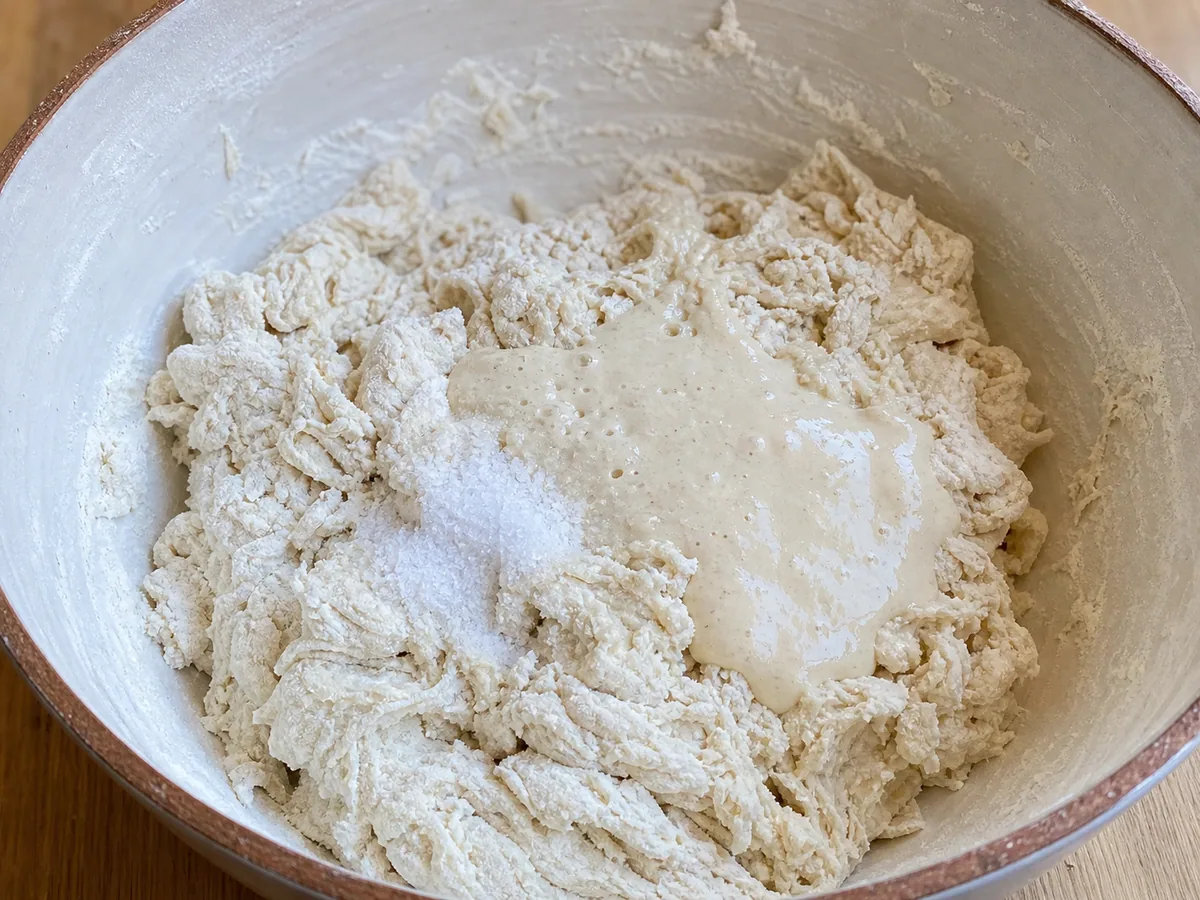
Add 100 g of active sourdough starter (100% hydration) and sprinkle 10 g of fine sea salt across the dough. Pinch, fold, and squeeze the dough, rotating the bowl as you work. Begin checking after 5 minutes and continue for up to 7 minutes, until the starter and salt are evenly distributed and the dough feels cohesive.
05:00Rest the mixed dough
Cover the bowl and let the mixed dough rest for 15 minutes before beginning the folds.
15:00Complete the first fold
With a damp hand, lift one side of the dough until it stretches, fold it over the center, and repeat from the remaining three sides. Cover the bowl and rest the dough for 30 minutes.
30:00Complete the second fold
Repeat the four-sided fold. The dough should begin to feel smoother and more elastic. Cover the bowl and rest for another 30 minutes.
30:00Complete the final fold
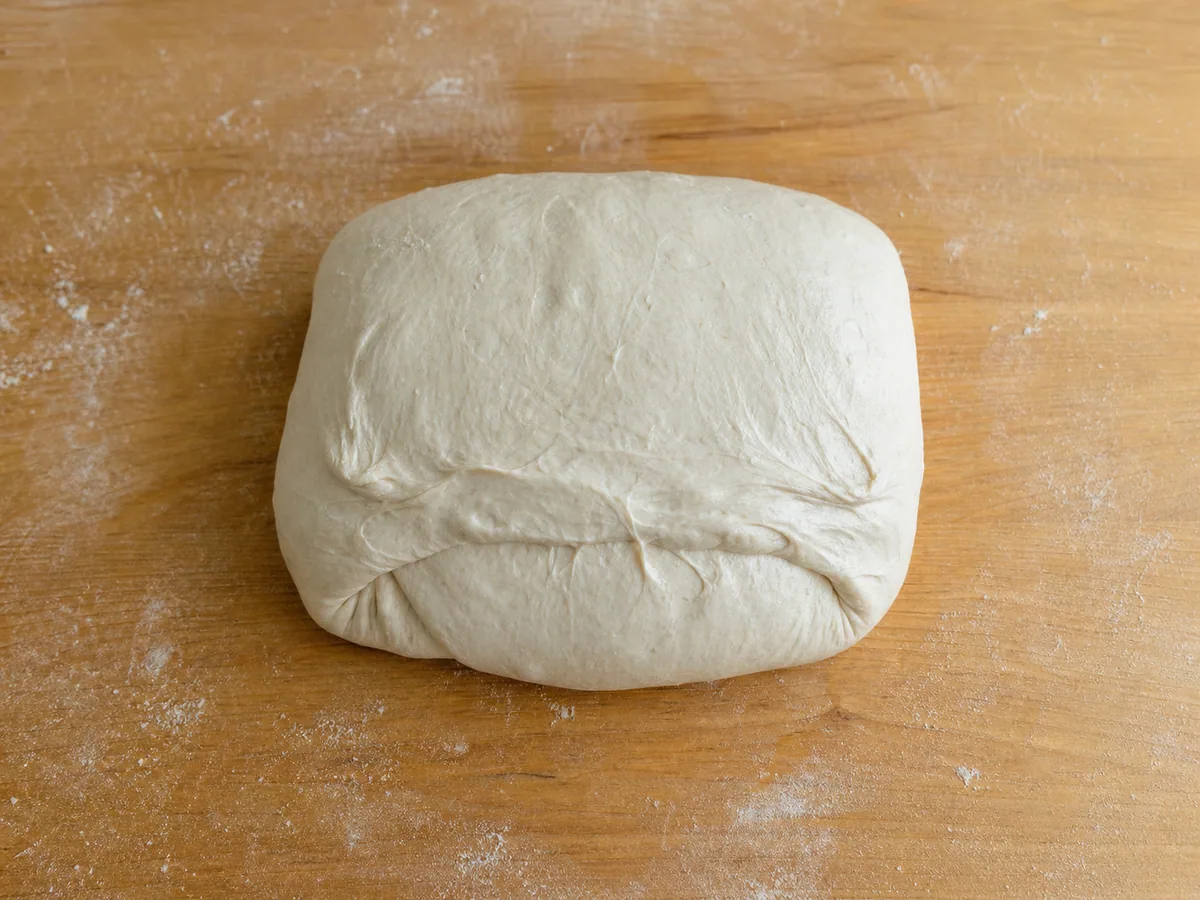
Complete a third four-sided fold. By the end of this set, the dough should feel smoother, hold its rounded shape more readily, and show a few small bubbles near the surface.
Let the dough ferment
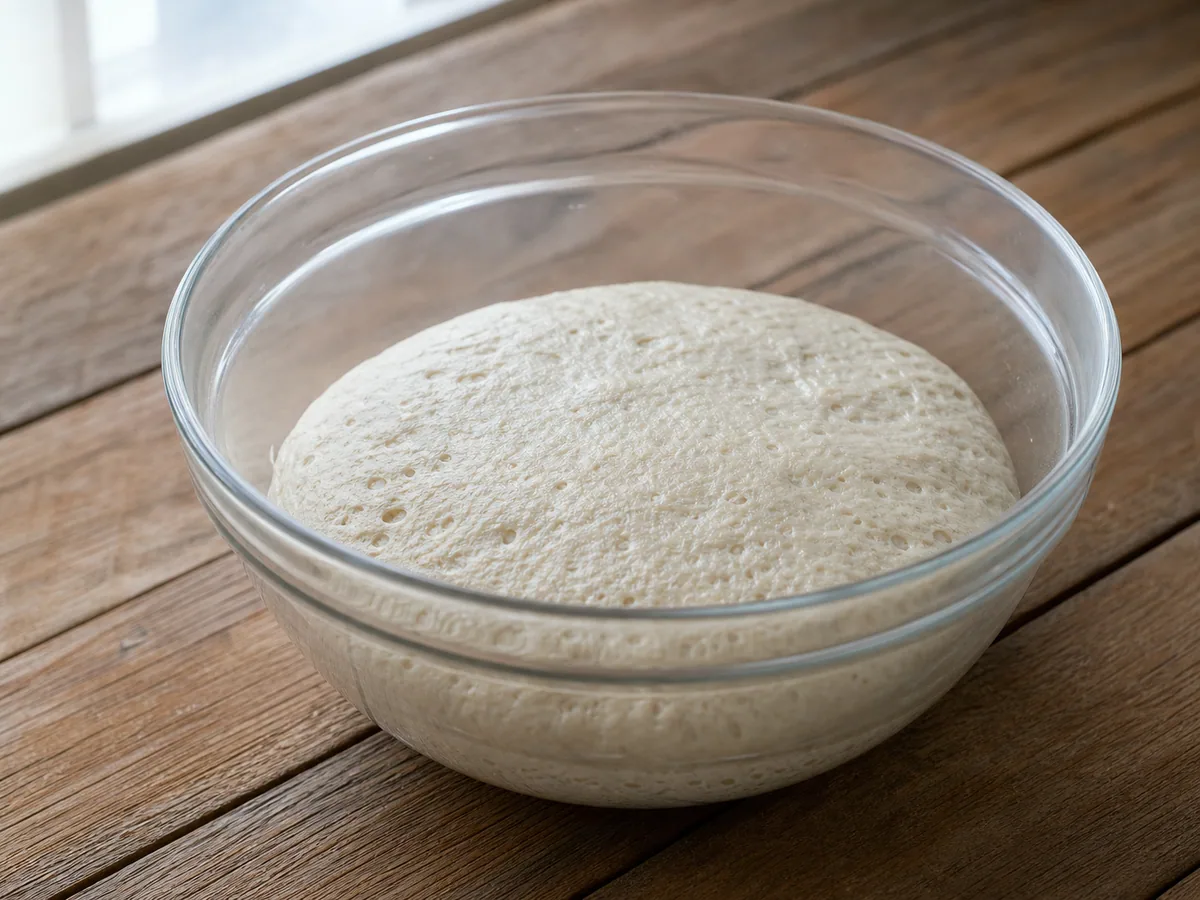
Cover the bowl and leave the dough at 21°C to 24°C (70°F to 75°F) for 4 to 6 hours. Begin checking at 4 hours. The dough is ready when it has risen by roughly half to three-quarters, looks aerated around the edges, and jiggles softly when the bowl is moved; do not wait for a full doubling.
4:00:00Preshape and rest the dough
Turn the fermented dough onto a clean counter and draw the edges toward the center to form a loose round. Leave the round uncovered for 20 minutes so it can relax before final shaping.
20:00Shape and begin proofing
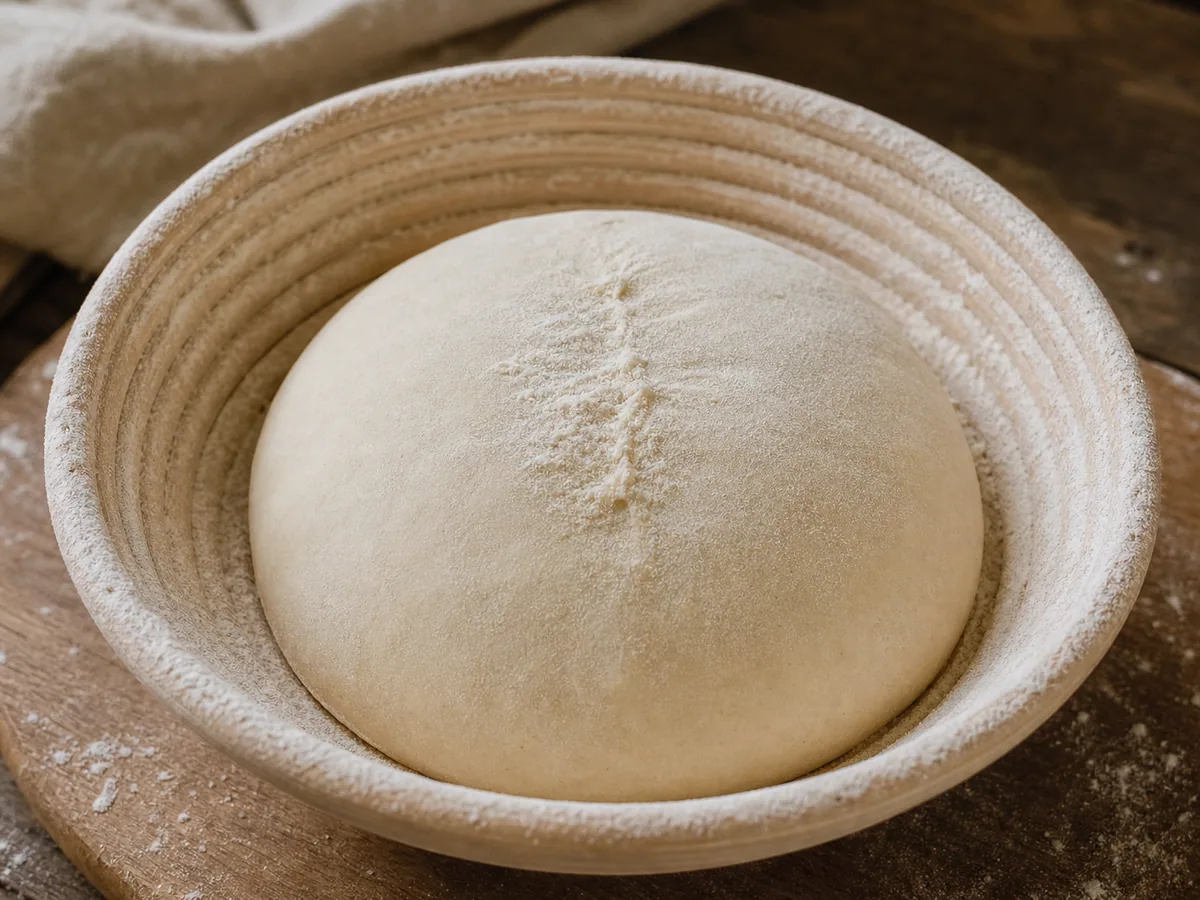
Dust a proofing basket or a towel-lined bowl with 8 g of rice flour. Flip the rested round, pull it gently against the counter to tighten the surface, and place it seam-side up in the prepared basket. Cover and proof at room temperature for 45 minutes.
45:00Preheat while the loaf finishes proofing
Confirm that the Dutch oven, lid, and knob are rated by the manufacturer for empty preheating to 250°C (480°F). Place the closed Dutch oven on a rack in the lower third of the oven and preheat for 45 minutes while the covered loaf continues to proof. At the end of the preheat, press the dough lightly with a fingertip: it is ready when the indentation returns slowly but does not fill at once. If it springs back quickly, continue proofing for up to 30 minutes, checking every 10 minutes.
45:00Turn out and score the loaf
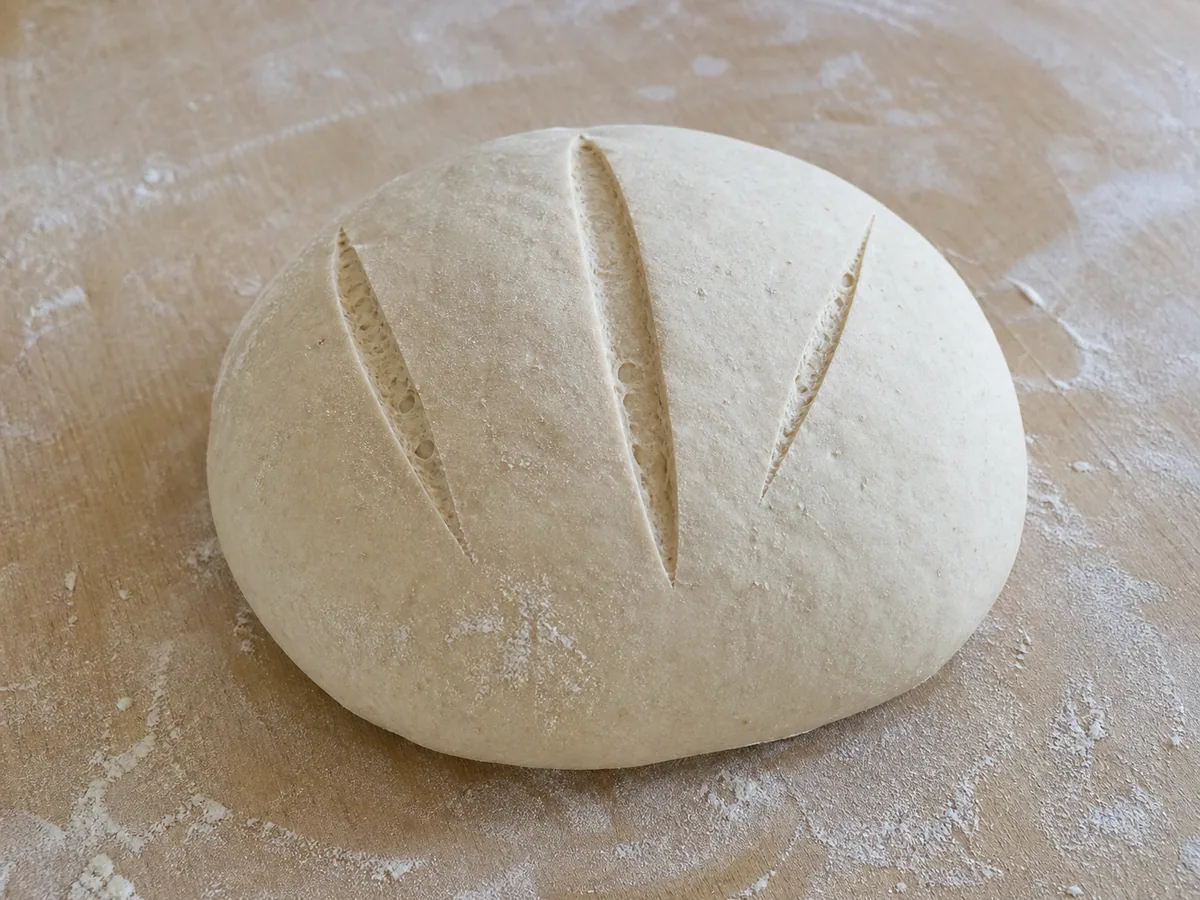
Turn the proofed loaf seam-side down onto high-heat parchment paper and trim excessive overhang. Use a bread lame or very sharp knife to make one confident slash about 1 cm (3/8 in) deep across the top, keeping fingers clear of the blade. Leave the hot Dutch oven inside the oven until the loaf is ready to load.
Bake the loaf covered
Using sturdy dry oven mitts, carefully remove the preheated Dutch oven and set it on a heat-safe surface. Lower the scored loaf into it using the parchment as a sling, cover with the lid, and return it to the oven. Immediately reduce the oven to 240°C (465°F) and bake for 20 minutes.
20:00Finish baking uncovered
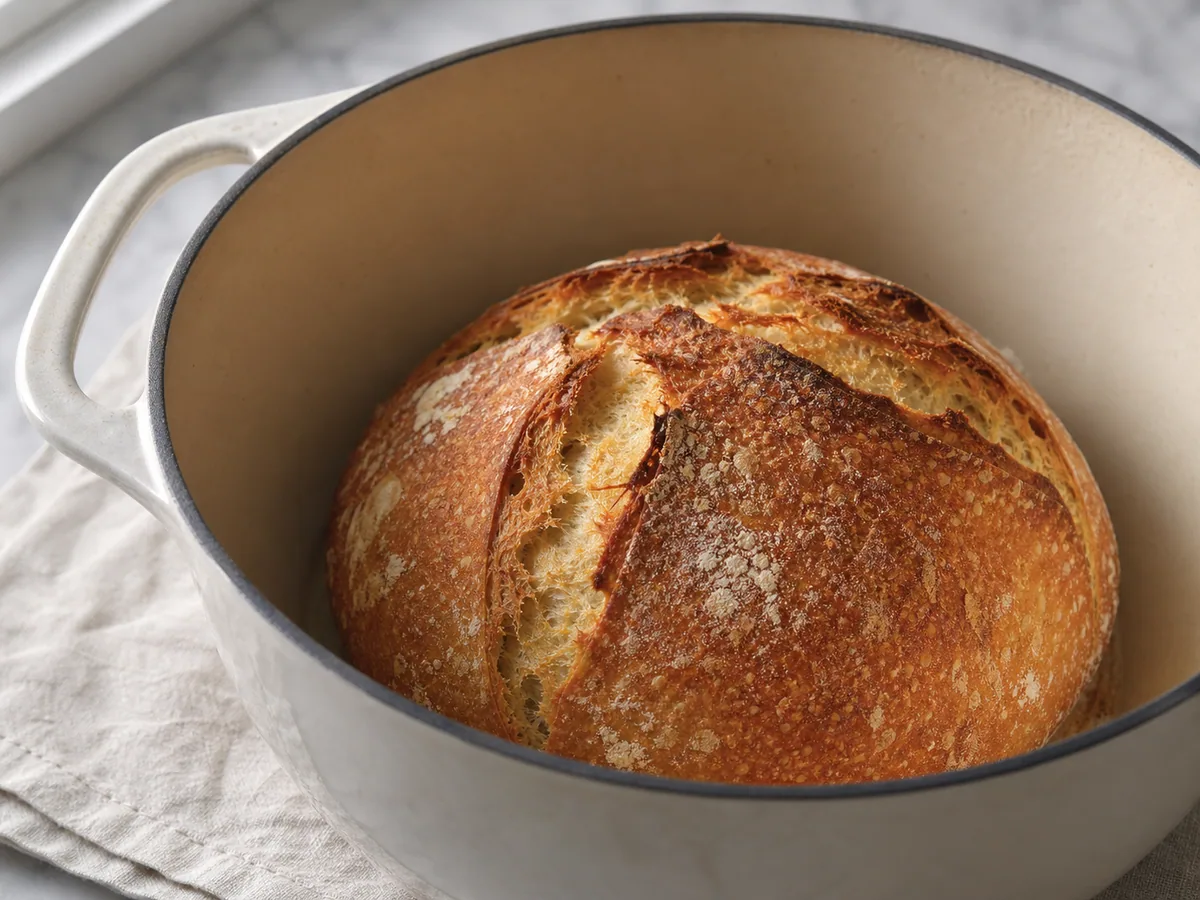
Remove the lid with sturdy dry oven mitts, reduce the oven to 230°C (450°F), and bake for 20 minutes. Begin checking then and continue for up to 5 minutes more if needed. The loaf is done when the crust is deep chestnut brown, the score has opened clearly, and the center registers at least 96°C (205°F) on an instant-read thermometer.
20:00Cool before slicing
Lift the loaf from the Dutch oven and place it on a wire rack. Let it cool for at least 2 hours before cutting so steam can escape gradually and the crumb can finish setting.
2:00:00


Smart Substitutions
- No dark rye flour? Replace it with an equal weight of whole wheat flour. The loaf will be slightly less earthy but will keep its rustic character.
- Prefer a milder whole-grain flavor? Replace half of the whole wheat flour with the same weight of bread flour for a lighter crumb and gentler wheat flavor.
- No rice flour? Dust the basket lightly with whole wheat flour. Use only enough to prevent sticking because it absorbs moisture more readily.
- No Dutch oven? Bake on a thoroughly preheated baking stone or steel beneath an inverted deep metal roasting pan for the first 20 minutes, then remove the cover to finish browning.
Tips and Variations
- Weigh the flours whenever possible; cup measurements can pack differently and change the dough texture.
- Dampen your hands before each fold so the dough stretches without clinging to your fingers.
- Let the crust reach a deep brown rather than stopping at pale gold; the darker finish brings out the grain flavor.
What Went Wrong?
- Dough remains very slack Add one extra set of folds and give the dough more fermentation time until it feels elastic and aerated. Avoid working in a large amount of extra flour.
- Loaf spreads after turning out Score and bake it promptly. Next time, tighten the final shape more firmly or shorten the final proof if the dough felt fragile and overexpanded.
- Crumb is dense Use a starter that rises strongly after feeding and allow bulk fermentation to continue until the dough shows clear bubbles and a substantial rise.
- Center feels gummy Confirm the loaf reaches at least 96°C (205°F), then allow the full 2-hour cooling period before slicing.
- Crust stays pale Continue baking uncovered for a few more minutes and make sure the Dutch oven was fully preheated before the loaf went in.
Nutrition Estimate
- Fiber: 3 g per serving
- Sodium: 490 mg per serving
Nutrition disclaimer:This recipe is provided for general cooking information only. Nutrition values are estimates and may vary by ingredients, brands, preparation methods, and serving sizes. Check ingredient labels and follow appropriate food-safety practices. This content is not medical, dietary, allergy, or professional food-safety advice.
FAQ
Found an error or have a suggestion?
Help us improve this recipe. Send us your feedback and include the recipe name so we can take a look.